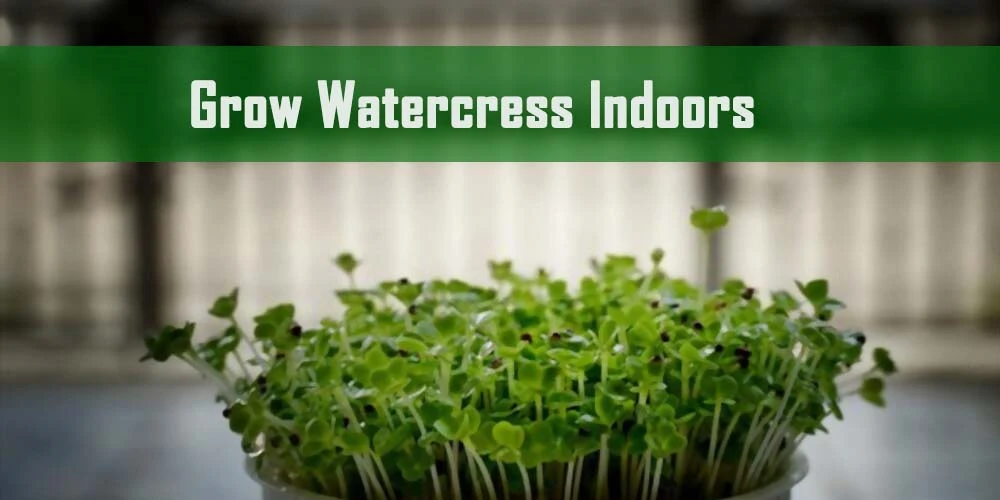
What if you could harvest fresh, peppery greens from your kitchen counter every single week — without a garden, without soil drama, and without spending more than a few dollars to get started? Learning how to grow watercress indoors is one of the simplest ways to add a nutrient-dense superfood to your meals year-round. This semi-aquatic plant practically wants to grow, and once you understand its few non-negotiable needs — consistent moisture, cool temps, and moderate light — you'll wonder why you didn't start sooner. Whether you're working with a sunny windowsill or a modest herb and plant growing setup, watercress fits right in.
Unlike most leafy greens that demand outdoor beds and careful soil management, watercress is a water-loving plant that does remarkably well in containers, trays, and even hydroponic jars sitting on your kitchen counter. It grows fast — you can start snipping leaves in as little as two to three weeks — and it regrows after cutting, giving you multiple harvests from a single planting. The flavor is bold, slightly spicy, and pairs well with salads, sandwiches, soups, and smoothies.
Below, you'll find everything you need to go from zero to a thriving indoor watercress patch: the gear, the method, the costs, the common mistakes, and a long-term plan to keep your supply rolling without interruption.
Contents
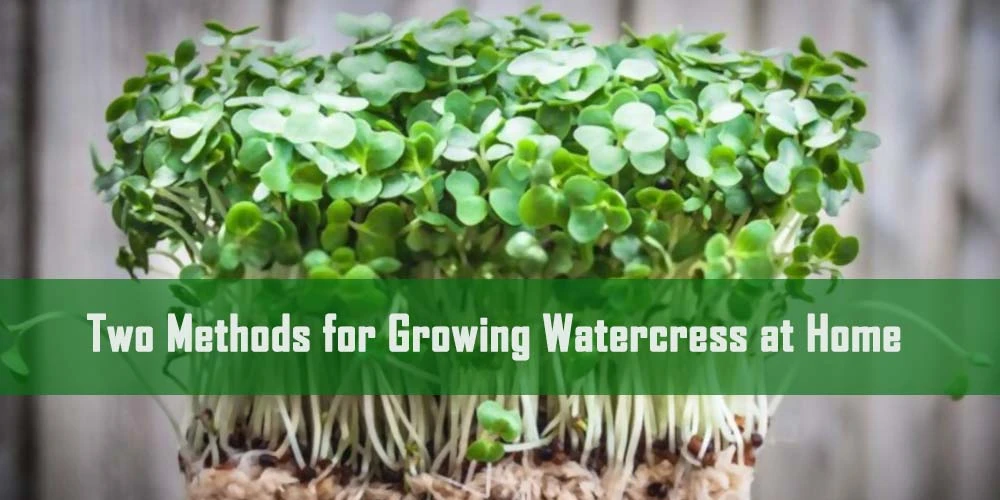
The theory behind how to grow watercress indoors is simple, but seeing what actually works in practice helps you skip the trial-and-error phase. Indoor growers across different climates and living situations have landed on a handful of reliable methods.
This is the most popular approach for beginners. You fill a shallow tray or dish with about an inch of water, scatter watercress seeds across a thin layer of damp potting mix or perlite, and place the tray near a window that gets four to six hours of indirect light. The key is keeping the growing medium perpetually wet — not just moist, but sitting in water. Watercress is semi-aquatic, so conditions that would rot other plants are exactly what this one craves.
Growers who use this method report harvestable leaves within 14 to 21 days. The tray approach also works well if you've had success with germinating seeds indoors before — the principle of controlled moisture and consistent temperature applies here too, with the added twist that watercress wants standing water rather than just dampness.

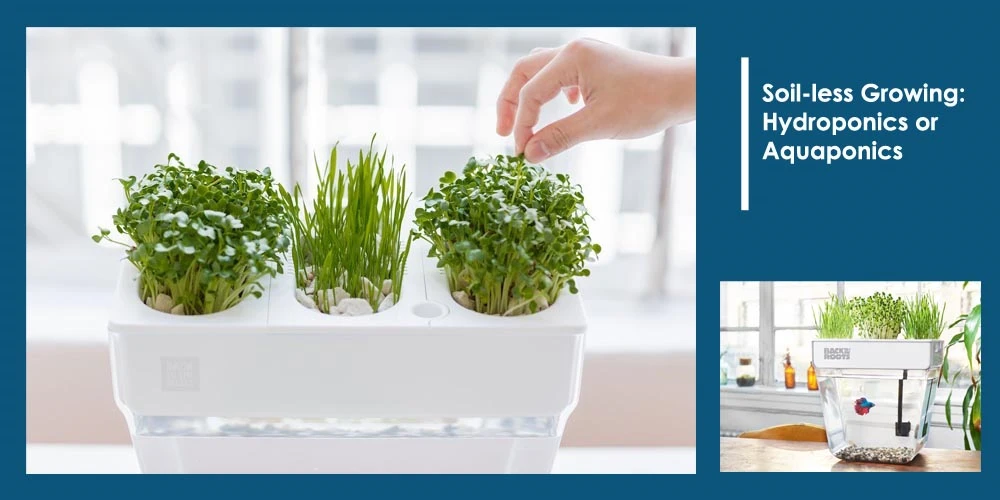
For a step up in productivity, many growers move to basic hydroponic setups — often nothing more than a mason jar with a net cup and some clay pebbles. The roots dangle in nutrient-enriched water, and the plant grows faster than in soil-based trays. You don't need a fancy hydroponic system. A simple Kratky method setup (a jar with no pump, no electricity) handles watercress beautifully.
Pro tip: If you're starting from store-bought watercress, snip the stems and place them in a glass of water. They'll root within five to seven days — no seeds required.
You don't need much gear, but the right gear matters. Watercress is forgiving about many things, yet unforgiving about water quality and temperature. Here's what to gather before you plant.
Any shallow, waterproof container works — plastic seedling trays, baking dishes, even repurposed takeout containers. Depth should be at least two inches so the roots have room to spread. For growing media, you have options: fine perlite, vermiculite, coconut coir, or standard potting mix. Avoid anything with heavy fertilizer blends — watercress prefers lean conditions and draws most of what it needs from water.
If you're going the hydroponic route, grab net cups (2-inch size), clay pebbles or rockwool cubes, and a container that blocks light from reaching the water (algae growth is your enemy). Wide-mouth mason jars wrapped in foil work perfectly for small-scale setups.
Light requirements are moderate. Watercress grows naturally along shaded stream banks, so it doesn't need — or want — intense direct sunlight. A north-facing or east-facing window is ideal. If you only have south-facing windows, pull the tray back a foot or two, or use a sheer curtain to diffuse the light. Under grow lights, aim for 10 to 12 hours at low to medium intensity.
For water, use filtered or dechlorinated tap water. Watercress is sensitive to chlorine and chloramine. If your tap water is heavily treated, fill a jug and let it sit uncovered for 24 hours before using it. Change the water in your tray every two to three days to prevent stagnation and bacterial buildup. In hydroponic setups, a half-strength liquid fertilizer added to the water every two weeks provides all the nutrition the plant needs.
One of the biggest advantages of growing watercress indoors is that you're largely free from seasonal constraints. But "largely" isn't "entirely." Timing still matters.
Watercress germinates best in cool conditions — between 50°F and 65°F (10°C to 18°C). Indoors, this means you can start year-round in most homes, but your strongest growth will happen during fall through early spring when indoor temperatures tend to sit lower. Seeds germinate in 7 to 14 days under these conditions.
If you're propagating from cuttings rather than seeds, the window is even wider. Cuttings root in water at virtually any temperature above 45°F, though they'll root fastest in the 55°F to 65°F range.
Heat is the enemy. When temperatures climb above 75°F (24°C), watercress bolts — it sends up flower stalks, the leaves turn bitter, and growth quality drops sharply. If your home runs warm in summer, place your tray in the coolest room available, or pause watercress cultivation entirely during peak heat and switch to a warm-weather crop like indoor ginger root, which thrives in exactly the conditions watercress hates.
Warning: Never place watercress trays near heating vents or radiators. Even a few hours of hot, dry air can stress the plant beyond recovery.
Indoor watercress growing is one of the cheapest edible gardening projects you can start. Here's the full breakdown so you can plan accordingly.
| Item | Budget Option | Mid-Range Option | Notes |
|---|---|---|---|
| Seeds (1 packet) | $2–$3 | $5–$7 | One packet covers 4–6 plantings |
| Growing container | $0 (repurposed) | $5–$10 | Baking dish vs. purpose-built tray |
| Growing medium | $3–$5 | $8–$12 | Perlite bag vs. coconut coir bricks |
| Grow light (optional) | $0 | $15–$25 | Only needed if you lack window light |
| Liquid fertilizer | $5 | $8–$12 | Lasts 6+ months at half-strength |
| Total startup | $10–$13 | $41–$66 |
Compare that to buying watercress at the grocery store, where a small bunch runs $3 to $5 and wilts within days. Your indoor setup pays for itself within two to three harvests.
Once your setup is running, the only recurring costs are water (negligible), occasional fertilizer top-ups, and replacement seeds every few months if you're not saving your own. Annual ongoing costs sit around $10 to $15. If you propagate from cuttings instead of seeds, that drops to near zero — just water and a few cents of fertilizer per month.
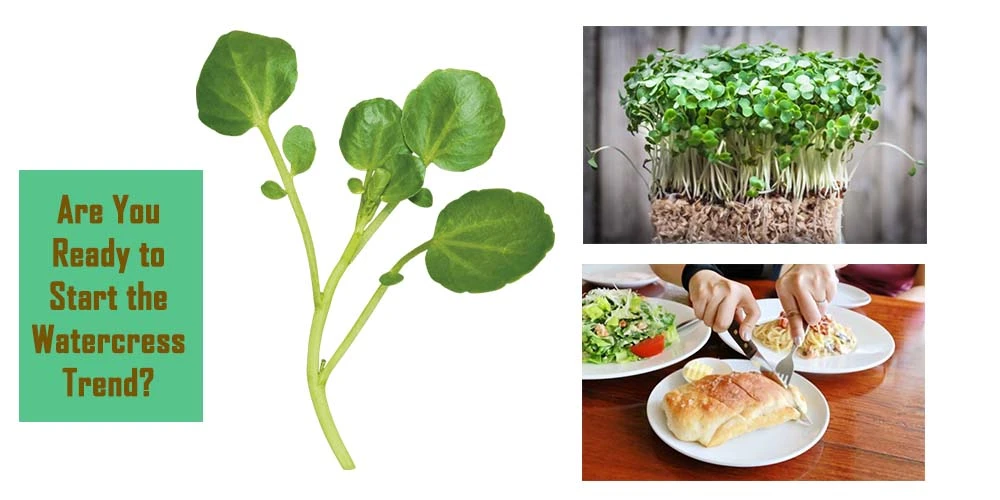
Growing watercress is satisfying, but the real payoff comes when you start using it. This isn't a garnish plant — it's a versatile ingredient that punches above its weight in both flavor and nutrition.
Watercress has a distinctive peppery bite that works raw or lightly cooked. Here are the most practical uses:

According to the CDC's Aggregate Nutrient Density Index, watercress ranks as the single most nutrient-dense food on the planet, scoring a perfect 100 out of 100. It's loaded with vitamins A, C, and K, plus calcium, iron, and potent antioxidants like beta-carotene and lutein. Gram for gram, watercress delivers more vitamin C than oranges and more calcium than milk.
For anyone growing food indoors primarily for health benefits, watercress gives you the highest nutritional return per square inch of growing space. That's not opinion — that's data.
A single planting of watercress gives you several weeks of harvests. But if you want a continuous supply without gaps, you need a strategy.
Start a new tray every two to three weeks. This staggers your harvests so that when one tray is winding down, the next is hitting peak production. With three trays in rotation, you'll always have fresh watercress ready to cut. Label each tray with the planting date so you can track which one is due for replacement.
When a tray has been harvested three or four times and growth starts thinning, compost the old plants, clean the container, and start fresh. Watercress doesn't decline gracefully — once it starts bolting or yellowing, it's more efficient to restart than to try nursing it back.
Yellowing leaves usually signal either too much direct light or nutrient depletion. Move the tray to a shadier spot and add a half-dose of liquid fertilizer. If only the lower leaves yellow while new growth looks healthy, that's normal — the plant redirects energy upward.
Leggy, thin stems mean insufficient light. If you're relying on a window, supplement with a basic LED grow light for a few hours each day. Watercress doesn't need intense light, but it does need consistent light.
Slimy roots or foul-smelling water indicate bacterial growth from stagnant conditions. Change the water immediately, rinse the roots under cool running water, and commit to water changes every 48 hours going forward. In hydroponic setups, adding a small amount of hydrogen peroxide (1 teaspoon of 3% solution per gallon) helps keep the water oxygenated and clean.
Bolting is triggered by heat and long daylight hours. If your watercress sends up flower stalks, harvest everything immediately — the leaves are still edible but will turn increasingly bitter. Then restart your tray and address the temperature issue before replanting.
Yes. Watercress grows exceptionally well in pure water or hydroponic setups using clay pebbles, perlite, or rockwool as an anchor for the roots. Many indoor growers skip soil entirely and get faster growth rates with cleaner harvests. Just make sure to add a half-strength liquid fertilizer to the water every two weeks so the plant has access to essential nutrients.
From seed, expect your first harvest in 14 to 21 days. From store-bought cuttings rooted in water, you can often start snipping new growth within 10 to 14 days. After each harvest, the plant regrows — you'll get three to four full cuttings from a single planting before quality declines and it's time to start a new tray.
No, and too much direct sun actually hurts it. Watercress prefers indirect or filtered light — four to six hours of bright but diffused light is ideal. A north-facing or east-facing window works well. If you only have strong south-facing light, pull the tray back from the glass or use a sheer curtain to soften the intensity.
Bitterness in watercress almost always comes from heat stress or bolting. When the plant experiences temperatures above 75°F for extended periods, it shifts into reproductive mode and the leaves develop a harsh, bitter flavor. Move your tray to a cooler location, harvest immediately, and restart in better conditions. Consistent temperatures between 50°F and 65°F produce the mildest, most pleasant flavor.
Give watercress water, cool air, and a little patience — it'll give you the most nutrient-dense greens you've ever grown, right from your kitchen counter.
 |
 |
 |
 |

About Truman Perkins
Truman Perkins is a Detroit-based SEO consultant who's been in the business for over a decade. He got his start helping friends and clients get their websites off the ground, and he continues to do so today. In his free time, Truman enjoys learning and writing about gardening - something he believes is a natural stress reliever. He lives with his wife, Jenny, and their twins in Detroit.
Get new FREE Gifts. Or latest free growing e-books from our latest works.
Disable Ad block to reveal all the links. Once done, hit a button below
|
|
|
|