Learning how to start an indoor herb garden is simpler than most people expect — grab a few small pots, choose a sunny windowsill, and you can have fresh herbs growing within days. You don't need outdoor space, a gardening background, or expensive equipment to make it work. If you're also exploring what tools and products are worth your money for any kind of growing setup, the gardening reviews section covers honest recommendations across all kinds of gear.
There's something satisfying about snipping fresh basil into a dish or crushing mint leaves into a drink you grew yourself. Indoor herb gardens bring that experience to kitchens, apartments, and small homes without asking much in return. The barrier to entry is genuinely low, and the payoff — fresh herbs whenever you need them — is practical and immediate.
This guide covers the full picture: why indoor herbs make sense, when to start and when to wait, how to set everything up step by step, what to budget for, how common herbs compare for beginners, how to fix problems when they appear, and which myths are worth leaving behind for good.
Contents
Growing herbs indoors isn't a new idea, but it's become far more common as people look for practical ways to connect with their food without needing a backyard. Herbs — plants valued for their flavor, fragrance, or medicinal qualities — have been cultivated near living spaces for centuries. What's changed is the accessibility: quality potting mixes, compact containers, and affordable grow lights have made indoor herb growing genuinely reliable for complete beginners.
Most culinary herbs are well adapted to contained root systems. Basil, chives, mint, cilantro, and parsley are happy in a 6-inch pot on a kitchen counter as long as they get enough light and water. That's a meaningful difference from trying to grow tomatoes indoors, which demands far more space, support structures, and consistent attention. Herbs are forgiving in scale, which is a big part of why they work so well inside a home.
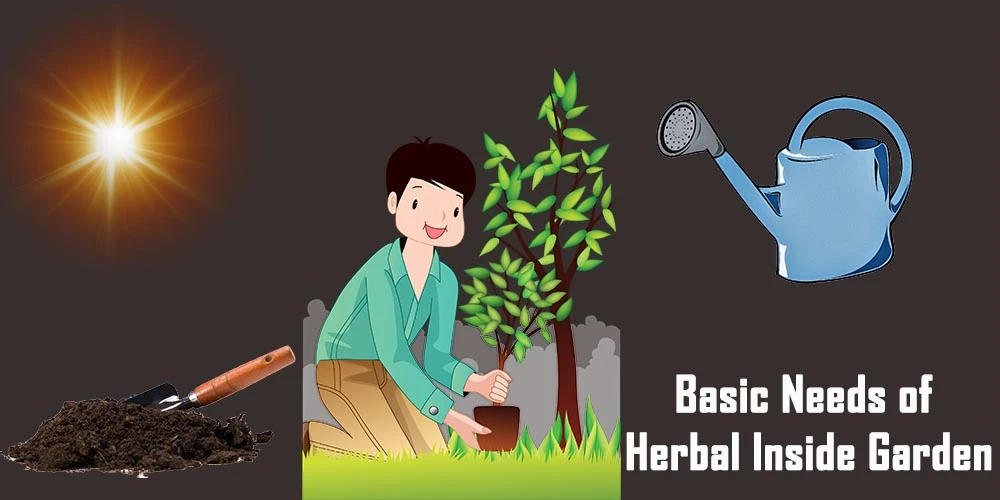
Every herb in your indoor garden needs four things: light, water, nutrients, and airflow. The ratios vary by plant — rosemary wants dry conditions and strong sun, while mint tolerates shadier and moister spots — but those four needs never change. Understanding them upfront saves you a lot of troubleshooting later.
Light is the most common limiting factor indoors. Most herbs want six or more hours of direct or bright indirect sunlight each day. A south- or west-facing window is ideal in the northern hemisphere. If your windows can't deliver that consistently, a simple LED grow light on a timer fills the gap without a major investment.

Herbs grown indoors tend to grow a little slower than their outdoor counterparts, and flavor can be slightly milder because they receive less total sun. That's a reasonable trade-off. You're not going to replicate a peak-summer garden basil crop in the middle of winter, but you'll have fresh herbs available whenever you need them — and that's the actual point of the whole setup. Year-round access beats seasonal abundance if cooking fresh herbs is the goal.
One underrated advantage of growing indoors is control. You're not dealing with unexpected frost, heavy rain, or animals getting into your plants. An indoor herb garden eliminates a whole category of outdoor gardening problems before they start — and keeps your herbs within arm's reach of wherever you're cooking.
One of the biggest advantages of indoor herb gardening is freedom from seasonal constraints. Unlike outdoor gardening, you don't need to track the last frost date or wait for soil temperatures to rise. You can start an indoor herb garden any time of year — spring, summer, fall, or winter — which means timing matters more for your own schedule and home conditions than for the calendar.
The ideal time to start is when your home conditions are stable. Herbs prefer temperatures between 60°F and 75°F (16°C to 24°C). A drafty windowsill in deep winter, or a surface positioned directly above a heating vent, can cause problems before your seeds even germinate. Get your spot right before you plant anything — location first, then soil, then seeds or transplants.
If you're starting from seed, give yourself three to four weeks before expecting to harvest anything. Starter plants from a nursery shorten that window considerably — within one to two weeks of transplanting, you can often start light harvesting. Starting during a period when you can check on your plants daily makes the establishment phase much smoother. Right before a long trip isn't the best moment to start.
If you haven't settled on a location yet, wait. Moving plants once they've started establishing causes unnecessary stress and setback. Decide on your windowsill or grow light position first, then buy and plant. Similarly, if your schedule doesn't allow for near-daily attention over the first few weeks, delaying is the smarter move. Young seedlings need consistent moisture until they're properly rooted — they don't do well when ignored early on.
Think through your container plan before buying anything, too. Mint, for example, spreads aggressively and will crowd out anything planted alongside it. If you're working with limited space, planning which herbs go in which pots before you buy prevents a lot of frustrating replanting down the road.
The process isn't complicated, but the order matters. Here's how to build your first indoor herb garden from scratch in a way that actually works.
Start with herbs you actually cook with. It sounds obvious, but many beginners plant what looks appealing at the nursery rather than what they'll reach for in the kitchen. Basil, mint, chives, parsley, and cilantro are the most forgiving for first-timers and the most practically useful day-to-day. Once you've got those basics dialed in, branching out becomes a natural next step — growing turmeric root at home or trying growing shiso indoors are both rewarding ways to expand your garden once the fundamentals feel solid.

You have two options at the starting line: seeds or starter plants (transplants from a nursery or garden center). Seeds are cheaper and offer more variety, but they take longer and need more attention early on. Transplants cost more upfront but are faster and considerably more forgiving for someone learning the basics.
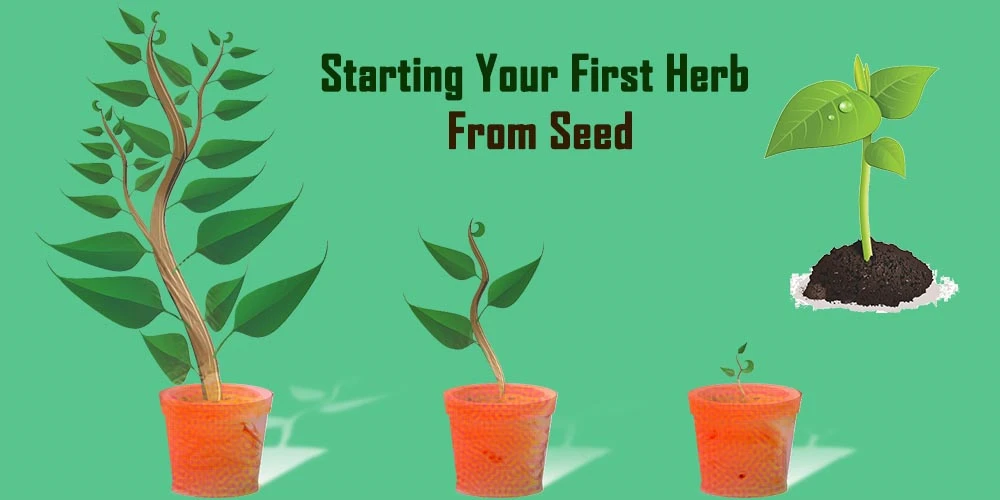
If you go the seed route, fill small pots or seed trays with a seed-starting mix — it's lighter and finer than standard potting soil and gives roots an easier path early on. Plant seeds at the depth listed on the packet, usually very shallow, just beneath the surface. Keep the mix consistently moist but not waterlogged, and place pots somewhere warm. Most herb seeds germinate within one to two weeks. Once seedlings develop two full sets of true leaves, thin them to the strongest one or two per pot.
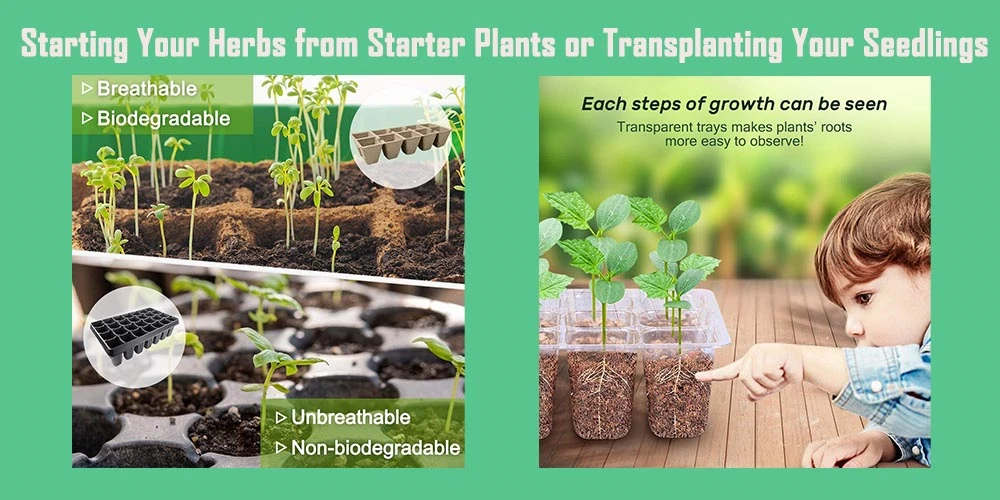
Transplants from a garden center give you a meaningful head start. Look for compact, healthy plants — avoid anything leggy, yellowed, or root-bound (roots circling out through the drainage holes). Pot them into fresh herb or vegetable potting mix, water them in well, and let them settle for a few days before you begin harvesting heavily.
Use pots with drainage holes — this is non-negotiable. Herbs sitting in waterlogged soil develop root rot quickly, and it's one of the most common reasons indoor herb gardens fail in the first month. Clay or terracotta pots breathe better than plastic and help regulate moisture naturally. A 6-inch pot works well for most single herbs; 8 to 10 inches gives you room if you want a fuller, more productive plant.
For soil, a quality potting mix formulated for herbs or vegetables is the right call. Avoid heavy garden soil, which compacts in containers and restricts roots. Mixing in a small amount of perlite — a lightweight volcanic mineral that improves drainage — is a worthwhile addition, especially for herbs that prefer drier conditions like rosemary and thyme. If you want to supplement nutrients without constantly applying liquid fertilizer, learning how to make fertilizer sticks is a low-cost approach that feeds plants slowly over several weeks.
Water when the top inch of soil feels dry to the touch — not on a fixed schedule, but based on what the soil is actually telling you. Overwatering kills more indoor herbs than underwatering does. A plant sitting in wet soil day after day will rot from the roots up well before you notice anything obviously wrong on the surface.
Light matters as much as water. A south- or west-facing window with six or more hours of sun is your best natural option. If that's not available in your home, a full-spectrum LED grow light on a 14-hour daily timer is a reliable and affordable alternative. Once your herbs are established, harvest regularly — cutting back the plant actively encourages bushier, more productive new growth. Never remove more than one-third of any plant at a single harvest.

Not all herbs perform equally well indoors. Some thrive in containers with minimal fuss; others need specific conditions that are harder to replicate inside. Here's an honest comparison of how the most common culinary herbs stack up when you're growing them in pots indoors.
| Herb | Difficulty | Light Needed | Water Needs | Key Notes for Beginners |
|---|---|---|---|---|
| Basil | Easy | 6+ hours direct sun | Moderate — keep moist | Pinch flowers to extend harvest |
| Mint | Very Easy | 4–6 hours | High — likes moisture | Grow in its own pot; spreads aggressively |
| Chives | Easy | 4–6 hours | Moderate | Regrows quickly after cutting |
| Cilantro | Moderate | 6+ hours | Moderate | Bolts in heat; needs a cooler spot |
| Parsley | Easy | 5+ hours | Moderate | Slow to germinate from seed — be patient |
| Rosemary | Moderate | 6+ hours direct sun | Low — let dry between watering | Needs strong light; poor drainage causes root rot fast |
| Thyme | Moderate | 6+ hours | Low | Prefers dry, bright conditions |
| Oregano | Easy | 6+ hours | Low to moderate | Very productive once established |
Mint and chives are the most forgiving starting points for anyone new to this. Basil rewards consistent attention and strong light. Cilantro bolts (goes to flower and seed) quickly in warm indoor conditions, so keeping it in one of the cooler spots in your home extends the harvest window. Rosemary and thyme are drought-tolerant once established, but they genuinely need strong direct light — a dim corner or weak window simply won't be enough for either of them to thrive.
Once you've built confidence with these basics, propagating new plants through leaf cuttings is a great way to expand your herb collection for almost no cost — it works especially well with mint, basil, and thyme once they've grown large enough to take cuttings from.
One of the most appealing things about indoor herb gardening is how little it costs to get started. A functional setup — enough to grow three to five herbs comfortably — can come together for well under $50. Here's a realistic look at where your money actually goes.
At the entry level, your main costs are containers, soil, and seeds or starter plants. Seed packets typically run $1.50 to $3 each. Small pots with drainage holes cost $2 to $5 apiece. A small bag of quality potting mix runs $6 to $10. Add a few saucers to protect your windowsill or counter, and you're looking at $25 to $40 total for a three- to five-herb starting setup. If you already have usable containers around the house, that number drops considerably.
Choosing starter transplants instead of seeds adds a bit to the upfront cost — typically $3 to $6 per plant at a garden center — but saves you the seed-starting phase and gets you to first harvest faster. For three plants plus fresh soil and containers, expect to spend around $30 to $45.
A grow light is the single upgrade that genuinely pays off if your home doesn't receive strong natural light. Basic full-spectrum LED grow lights designed for small indoor gardens start around $20 to $35 and can be the difference between thriving plants and struggling ones. You don't need the most expensive model — look for full-spectrum LEDs on a simple outlet timer, and you've solved the light problem entirely.
Where you don't need to spend more: specialty herb fertilizers, elaborate self-watering systems, or designer ceramic pots. The simple setup works. Your harvested herbs can also go further than you might expect — fresh mint and basil pair beautifully with homemade pantry projects like honey simple syrup and homemade herbal extracts including mint and basil varieties, both of which stretch a small harvest into something practical for your kitchen.
Even a well-set-up herb garden runs into issues. Here's how to read the warning signs and address the most common problems before they turn into a lost plant.
Yellow leaves usually point to one of three things: overwatering, underwatering, or insufficient light. Check the soil first. If it feels soggy and heavy, back off the water and make sure drainage is working — water should flow freely out through the drainage hole when you water. If the soil is pulling away from the pot edges and feels bone dry, underwatering is the culprit. If moisture levels seem fine but leaves are still pale and yellow, the problem is almost certainly light.
Leggy growth — long, thin stems straining toward a light source — is a clear signal that the plant isn't getting enough light. Move it to a brighter window or introduce a grow light. Pinching back the tips of leggy stems encourages branching and bushier growth going forward, and it's a step that pays off quickly.
If your herbs are yellowing at the base but still green at the tips, check for root rot — pull the plant gently from its pot and look for black or mushy roots. Trim away any damaged roots with clean scissors and repot in fresh, dry soil immediately to give it a real chance at recovery.
The most frequent indoor herb pests are fungus gnats, spider mites, and aphids. Fungus gnats breed in consistently moist soil — letting the top layer dry out between waterings naturally discourages them without any sprays or treatments. Spider mites show up as tiny dots moving on leaves, sometimes accompanied by fine webbing; wipe leaves with a damp cloth and increase humidity slightly. Aphids cluster on new growth and can usually be knocked off with a firm spray of water from a spray bottle or at the sink.
Keeping your pruning tools clean between uses matters more than most beginners realize. Sharp, well-maintained garden shears make cleaner cuts that heal faster and reduce the chance of carrying disease or pests from one plant to another. If a plant is genuinely beyond saving — completely wilted, heavily root-rotted, or badly infested — composting it and starting fresh with new soil is often the more practical decision than spending weeks trying to nurse it back.
A few persistent myths make indoor herb gardening seem either harder or easier than it actually is. Some of these set beginners up for frustration; others create unrealistic expectations. Here's what doesn't hold up under closer examination.
This is the most damaging myth for beginners. Herbs do require less effort than a full vegetable garden, but calling them low-maintenance leads people to neglect them — and then wonder why everything died. They need to be watered appropriately (not on autopilot), checked periodically for pests, pruned to stay productive, and repositioned if they're not getting sufficient light. Consistent, light attention is the real requirement — not intensive daily care, but not weeks of benign neglect, either. The plants give you clear signals when something is wrong; you just need to be present enough to notice.
A sunny windowsill and three small pots is genuinely enough to grow basil, chives, and mint. You don't need a greenhouse, a dedicated grow tent, a hydroponic rig, or a purpose-built herb planter to get started. The core requirements are minimal. A more elaborate setup is something you can explore later, once you know what you're doing and what you actually want to grow more of — but starting simple is both sufficient and smart.
Mint likes moisture and handles lower light reasonably well. Rosemary needs to nearly dry out between waterings and demands strong direct sun. Cilantro hates heat and bolts quickly when temperatures climb. Treating all herbs on the same watering schedule, in identical soil, in the same location almost always produces uneven results at best. The comparison table above gives you a solid starting framework; paying attention to how each individual plant behaves in your specific space over time fills in everything else.
There's a small kernel of truth here — outdoor herbs at the peak of a sunny summer, receiving maximum direct light, do tend to have the most concentrated flavor. But the difference between a well-grown indoor herb and its outdoor equivalent is subtle, not dramatic. Fresh indoor basil beats dried basil from a jar by a wide margin. And if you're using your herbs for cooking or projects like homemade herbal extracts, the flavor from indoor-grown herbs holds up well in every practical application.
The best indoor herb garden is the one you actually tend — start with two or three plants, pay attention to what they need, and let the process teach you the rest.
 |
 |
 |
 |

About Truman Perkins
Truman Perkins is a Detroit-based SEO consultant who's been in the business for over a decade. He got his start helping friends and clients get their websites off the ground, and he continues to do so today. In his free time, Truman enjoys learning and writing about gardening - something he believes is a natural stress reliever. He lives with his wife, Jenny, and their twins in Detroit.
Get new FREE Gifts. Or latest free growing e-books from our latest works.
Disable Ad block to reveal all the links. Once done, hit a button below
|
|
|
|