reviewed by Truman Perkins
Microgreens are a nutritious staple of the culinary world discovered in the last century. It adds up dazzling color and a punch of intense flavor to dishes. Producing microgreens indoors is a fun, an alternative to a healthy diet, or even a potential start-up opportunity. The beginning of a miniature lawn of microgreens is an excellent way to develop your go green and eco-friendly initiatives. Read How To Grow Microgreens At Home.
Contents

I hope you know the sprouts, right? Microgreens are sprouts relatives. The basic differences are sprouts with microgreens is root consumption. While taking food, you take sprouts with its root and all but not in microgreens. Microgreens are cultivated in a small tray, having small soil in it, and cut from its base while mixed with other food. It takes a little longer to grow than sprouts but is need lower maintenance. I harvest this superfood within a couple of weeks after seeding when leaves are shown.
It’s a super-food that contains an ample quantity of anti-oxidants. The mature parts of the microgreens flow around 44% additional nutrients, and because of its short shelf life, the taste also remains intact.
There are many reasons to grow microgreens in your indoor lawns or tray. The key reasons are:
The different varieties of microgreens are available within our reach are those with longer shelf life. But it is easily assumable that wide ranges of microgreens are available that can be produced easily in your corner. Focusing on the issue, I have organized some microgreens based on seed size. The name and short descriptions are as follows:
These varieties are straightforward to grow but might be lower than the plants’ density because of their seed size. They have large stouts, and you can harvest multiple times.
The most common varieties are:
These varieties are simple to grow. Presoak is beneficial but not necessary unless specified. They have a large density per tray than larger microgreens.
The common varieties are:
These tiny seeds are mostly herbs, a bit difficult to grow evenly across the planting medium. But, they can grow in a high density in your tray or mat, which contains intense flavor.

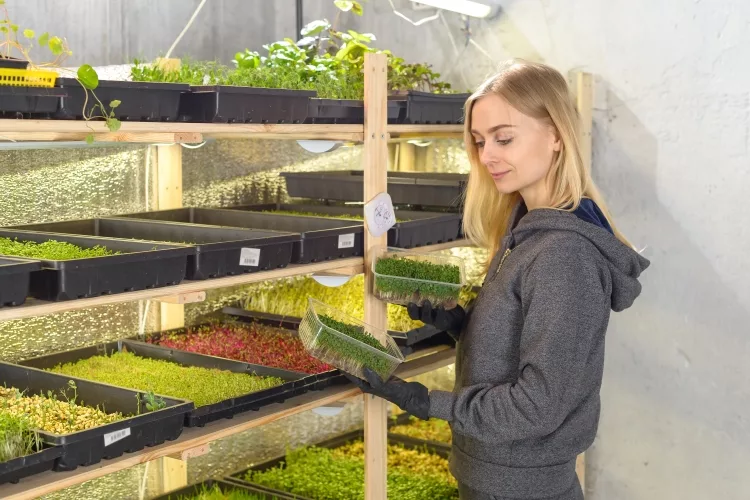
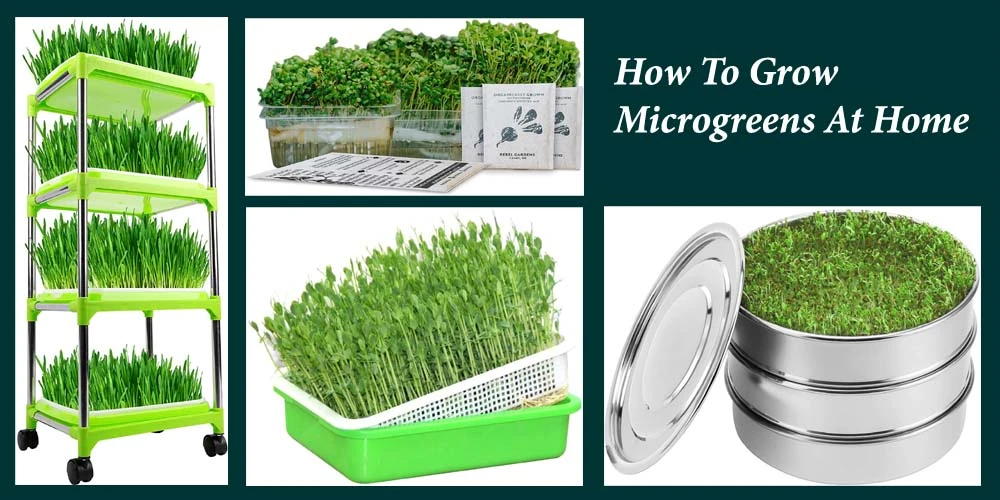
There are few critical apparatus that are required to grow microgreens at home. The components are growing medium, growing trays, and a grow light. These variables are most common to grow microgreens and can be improved over a period of time with experience. Read proper instruction or guidelines before grow.

Growing Trays:
There are no rules to grow fast microgreens. If you are an early gardener or a beginner, I will recommend you have a microgreen tray of any available brands on Amazon. These trays are specially designed to retain moisture. There are a lot of enthusiasts who use plastic clamshells that produce or takeout food come in. For long-term use, use sturdy plastic trays with drainage holes. An inch deep is enough to grow microgreens.
Growing Medium-
The medium is an important thing to consider before growing microgreens. Some grower chooses potting soil, and some choose no soil like coco pit. If you consider soil for your microgreens, then there are plenty of them in Amazon. It is also possible to make your potting soil. Naturally, you need experimental to grow better microgreens and in that case study.
Certified Organic Seed-
Always use a certified organic seed to grow microgreens. Using certified organic will direct you to safe production and ensure high yield. Buying in bulk will reduce your cost.
Grow light-
There are many affordable and effective lighting options in the flea market. A 30 Watt good LED light might be an option for indoor microgreen crops. Study shows that moderate light is exceptional for microgreens. Please note that a south-facing window is often a good position to experiment with growing microgreens.
Spray bottle or watering cans-
It’s a bit controversial whether to use water sprays or water cans. Some grower prefers spray bottles, and some prefer water cans. You can use one of them or both for your microgreens.
Labeling Materials and Notebook-
It is beneficial to take notes and keep records on your growing microgreens. Understanding and working on germination, its rate is beneficial, and this becomes a long endeavor.

Fix your location
A clean area is a prerequisite to growing microgreens. Make sure that there are facilities to drain out extra water.
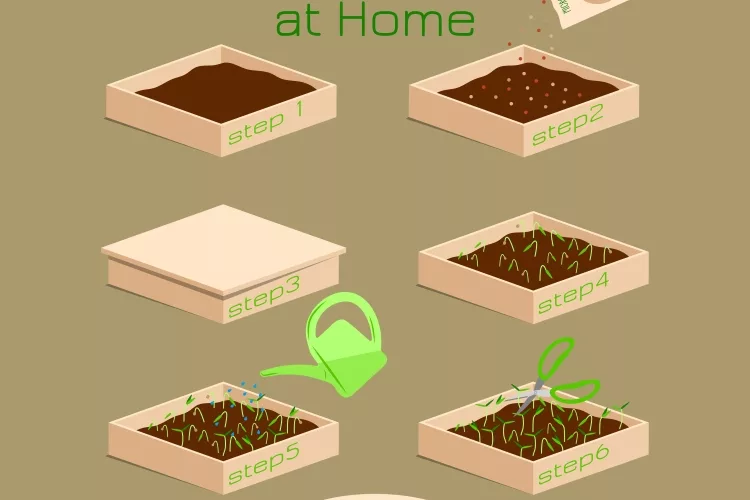
Preparation of growing trays
If you have a recycle container, make sure that it is disinfected and dry. Fill the trays in half inches of growing medium and make the soil level by dragging pr pressing through a piece of cardboard or hand.
Prepare and Sow seeds.
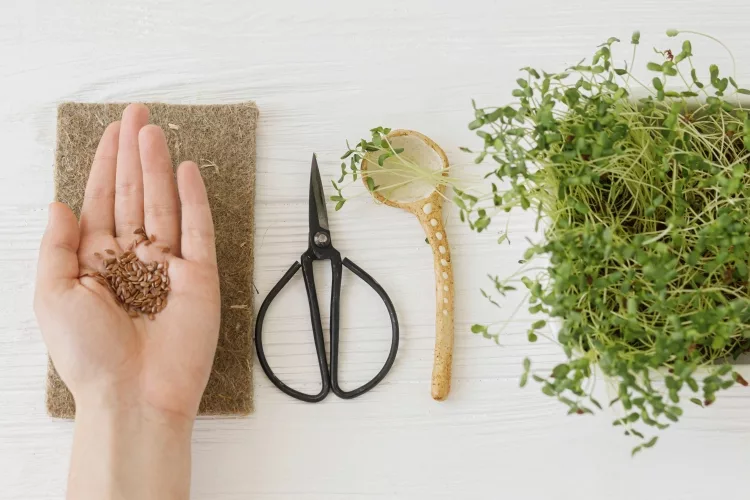
You should choose and take clean seeds for your microgreens. Soaking is a good option to get a good result. Ensure that you soaked your seed at least overnight (12-18 hours) before sow your seeds. After that, spread the seeds evenly or sprinkle them over the growing surface.
Cover and wait
The growing medium or trays should cover at this moment. Please make sure that you maintain certain moisture in the tray. Many of the seeds require no light; what they need is moisture. Some gardener wraps the medium with plastic wrapper to encourage early germination.
Water
Watering periodically is an essential key to grab a good harvest. Notably, watering keeps the seeds moist but over wet harmful for your seed. Once you seed germinated, spray once or twice a day is recommended.
Harvest and enjoy
Once they are growing a few inches high and having well-developed leaves, they are ready to harvest. Use sharp scissors, cut the stems from the soil surface. If it is necessary to rinse them, gently do so and dry them in a salad spinner or paper towel.
The most common problems are fungal attacks on your microgreen trays. Spraying excessive water may cause such damage. Some growers may prefer bottom watering–using drainage holes and letting the water infiltrate from the up.
Washing your microgreens randomly reduces the shelf life of your harvest. So, cut from the lower edge as possible and preserve without water. NO need to add any preservatives to long-term storage.
In your growing trays, you don’t need to add or spray fertilizer or chemicals. As because they are short-lived and grow as you want to.
 |
 |
 |
 |

About Truman Perkins
Truman Perkins is a Detroit-based SEO consultant who's been in the business for over a decade. He got his start helping friends and clients get their websites off the ground, and he continues to do so today. In his free time, Truman enjoys learning and writing about gardening - something he believes is a natural stress reliever. He lives with his wife, Jenny, and their twins in Detroit.
 |
 |
 |
 |
Get new FREE Gifts. Or latest free growing e-books from our latest works.
Disable Ad block to reveal all the links. Once done, hit a button below
 |
 |
 |
 |