A few years ago, I knocked an aloe leaf off a windowsill plant and watched the gel ooze onto a minor burn on my hand. The sting vanished in seconds. That was the moment I decided every room in my house needed one of these plants. If you've been wondering how to grow aloe vera indoors, you're in the right place. Aloe vera is one of the most forgiving houseplants you can own — it tolerates neglect, purifies air, and gives you a natural first-aid kit on your shelf. Whether you have a sunny kitchen counter or a bright bathroom window, this guide walks you through everything from potting to propagation. For more indoor growing projects, check out our plants and herbs guide.
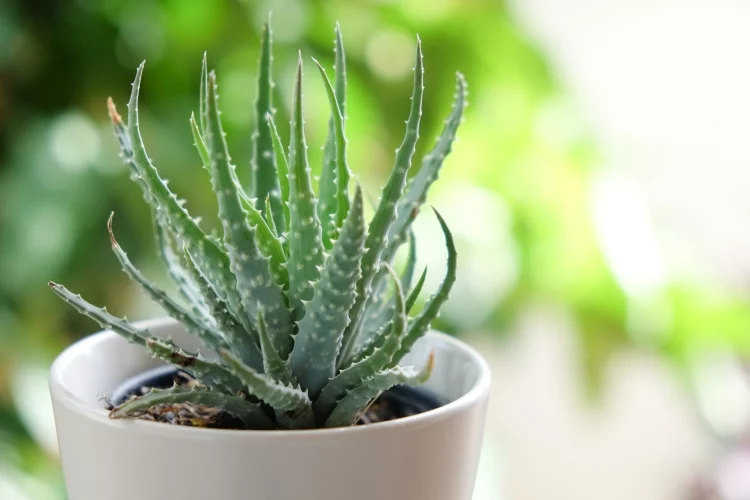
Aloe vera (Aloe barbadensis miller) is a succulent native to the Arabian Peninsula that has been cultivated for thousands of years. According to the Wikipedia entry on Aloe vera, it's been used medicinally since ancient Egypt. Today, it's one of the top-selling houseplants worldwide — and for good reason. It asks very little of you and gives back a lot.
Below, you'll find a complete breakdown of supplies, step-by-step planting instructions, care tips, variety comparisons, creative uses, and a myth-busting section that clears up the most common mistakes new growers make.
Contents
Before you bring an aloe plant home, gather a few essentials. You don't need anything fancy — most of these items cost under ten dollars. The right setup from the start prevents root rot, the number one killer of indoor aloe plants.
Your pot choice matters more than you think. Here's what to look for:
If you're working with limited space, a 6-inch terra cotta pot handles most starter aloe plants perfectly. For more creative container ideas, take a look at our post on gardening ideas for tight spaces.
Standard potting soil holds too much water. You need a mix that drains fast and dries quickly. Your best options:
The goal is a gritty, loose texture. Squeeze a handful of damp mix — it should crumble apart, not clump into a ball.
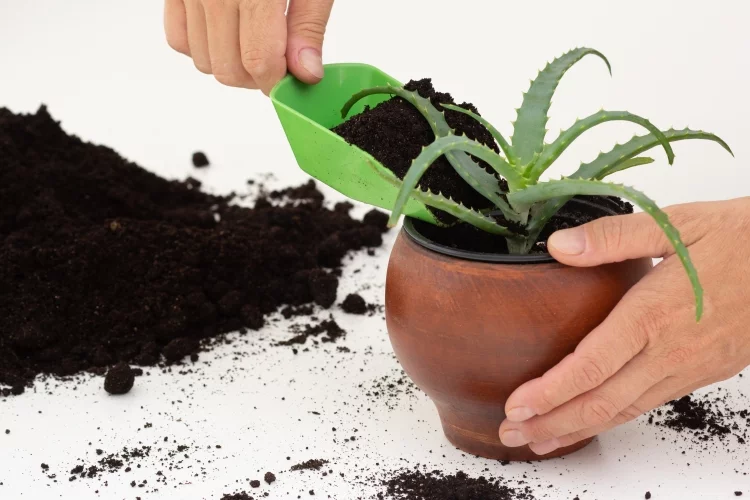
Learning how to grow aloe vera indoors starts with proper planting. Follow these steps whether you're potting a nursery plant, a pup from a friend, or starting from seed.
Pups (also called offsets) are baby plants that sprout from the base of a mature aloe. This is the fastest and most reliable way to start a new plant.
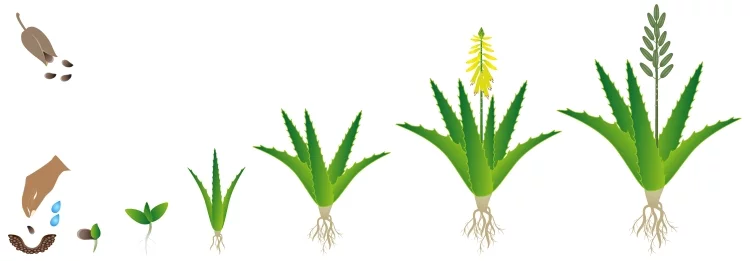
Starting from seed takes patience — expect 2 to 4 weeks for germination and several months before the seedling looks like a recognizable aloe plant. But it's a rewarding process, especially if you enjoy germinating seeds indoors.
Once your aloe is potted, daily care is minimal. These simple habits keep your plant fat, green, and producing gel for years.
Overwatering kills more aloe plants than anything else. The rules are straightforward:
Pro tip: Brown, mushy leaves mean overwatering. Thin, curling leaves mean underwatering. The plant tells you exactly what it needs — learn to read it.
Aloe vera craves bright, indirect sunlight for 6–8 hours a day. A south- or west-facing window works best. Direct afternoon sun can scorch the leaves, leaving them brown and crispy at the tips.
Temperature-wise, keep things between 55°F and 80°F (13–27°C). Aloe handles dry indoor air well, so humidity is rarely a concern. Just keep it away from cold drafts near doors and windows during winter. If your leaves start turning reddish-brown, the plant is getting too much direct sun — move it back a foot or two from the window.
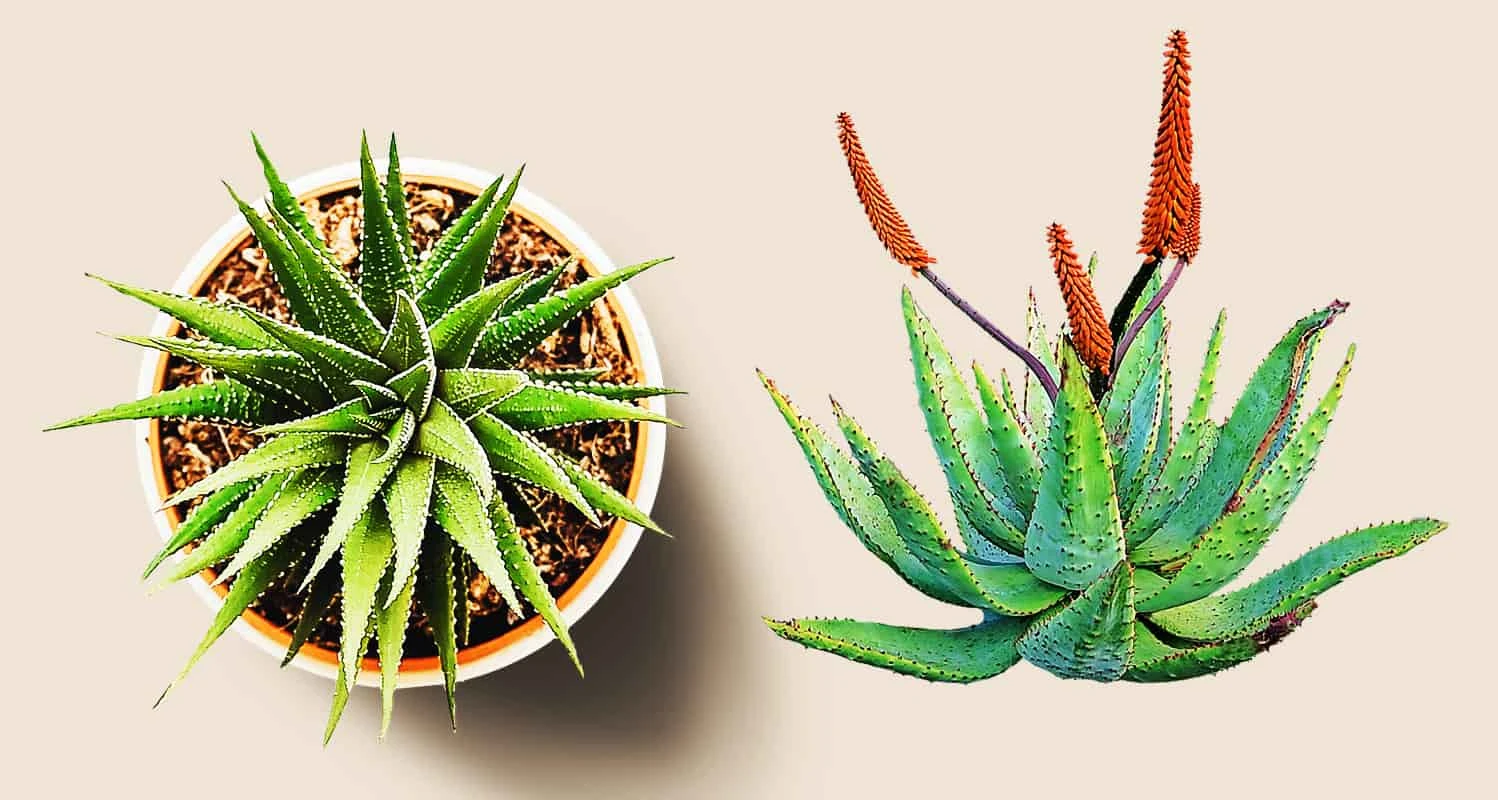
Most people picture the classic green gel-filled plant, but there are over 500 aloe species. Not all thrive indoors. Here's a quick comparison of the best varieties for how to grow aloe vera indoors and which ones suit different situations.
| Variety | Mature Size | Light Needs | Gel Yield | Best For |
|---|---|---|---|---|
| Aloe barbadensis (classic) | 1–2 ft | Bright indirect | High | Medicinal use, beginners |
| Aloe aristata (Lace Aloe) | 6–8 in | Low to medium | Low | Low-light rooms, desks |
| Aloe brevifolia (Short-leaf) | 6–10 in | Bright indirect | Low | Small pots, windowsills |
| Aloe juvenna (Tiger Tooth) | 8–12 in | Bright direct | None | Decorative, sunny spots |
| Aloe vera chinensis | 1–1.5 ft | Bright indirect | Medium | Compact spaces, gel use |
If your main goal is harvesting gel, stick with the classic Aloe barbadensis. If you want something purely ornamental that handles low light, Lace Aloe is your best bet. Tiger Tooth adds striking visual texture but produces no usable gel.
Growing aloe isn't just about having a pretty plant on the shelf. The gel inside those thick leaves has dozens of practical applications. Here's how to put your harvest to work.
Aloe gel isn't limited to skin care. You can use it in surprising ways around the house:
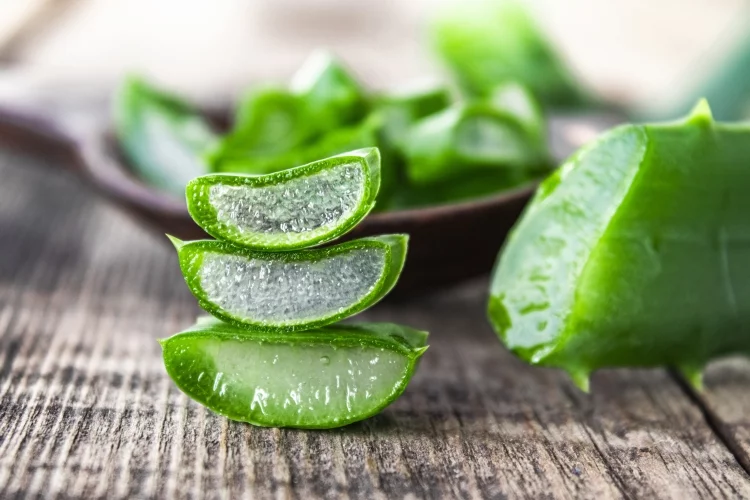
To harvest gel properly, cut an outer leaf at the base with a clean knife. Stand the leaf upright for 10 minutes to let the yellow latex (aloin) drain out — this substance is a strong laxative and you don't want it in your gel. Then fillet the leaf open and scoop out the clear gel with a spoon.
There's a lot of bad advice floating around about aloe care. Let's set the record straight on the biggest myths that lead to dead plants and frustration.
Myth 1: Aloe vera needs almost no light.
Wrong. Aloe tolerates low light for short periods, but it needs bright indirect light to actually grow. In dim corners, the leaves stretch out thin and pale — a condition called etiolation. Move it closer to a window.
Myth 2: You can propagate aloe from a single leaf cutting.
This is one of the most repeated pieces of bad advice online. Unlike many succulents, aloe leaves placed in soil almost always rot instead of rooting. You need a pup with its own root system, or seeds. Leaf cuttings simply don't work for this plant.
Myth 3: Bigger pots help aloe grow faster.
The opposite is true. An oversized pot holds excess moisture around the roots, leading to rot. Aloe actually grows best when slightly root-bound. Only size up by 1–2 inches when roots start circling the bottom of the current pot.
Myth 4: Aloe vera is safe for pets.
The gel itself is generally harmless, but the aloin (yellow latex) found just under the skin is toxic to cats and dogs. Symptoms include vomiting, diarrhea, and lethargy. Keep plants on high shelves or in rooms your pets don't frequent.
Myth 5: You should mist your aloe regularly.
Aloe is a desert succulent. It stores water in its leaves and hates excess moisture on its surface. Misting encourages fungal growth on the leaves. Water the soil only, and let it dry out completely between sessions.
Now you know how to grow aloe vera indoors from start to finish — the right pot, the right soil, the right watering rhythm, and which myths to ignore. Pick up a small aloe pup or starter plant this week, pot it in a terra cotta container with cactus mix, place it near your brightest window, and resist the urge to overwater. Within a few months, you'll have a thriving plant that doubles as a medicine cabinet. Start with one, and don't be surprised when you end up with a whole collection.
 |
 |
 |
 |

About Christina Lopez
Christina Lopez grew up in the scenic city of Mountain View, California. For eighteen ascetic years, she refrained from eating meat until she discovered the exquisite delicacy of chicken thighs. Christina is a city finalist competitive pingpong player, an ocean diver, and an ex-pat in England and Japan. Currently, she is a computer science doctoral student. Christina writes late at night; most of her daytime is spent enchanting her magical herb garden.
Get new FREE Gifts. Or latest free growing e-books from our latest works.
Disable Ad block to reveal all the links. Once done, hit a button below
|
|
|
|