reviewed by Truman Perkins
Contents
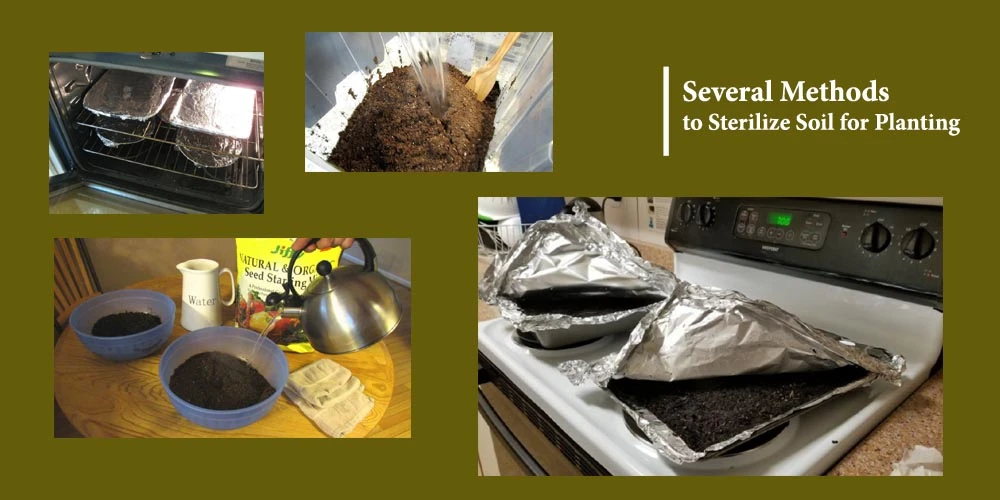
I will present you with a few options to try to see what works best for you. Oven and microwave sterilization is often the easiest for the home gardener. Besides, we will look at a couple of other examples as well. You can never have too many options!
If you are new to gardening, the idea of cleaning dirt may seem like I am making a joke; after all, clean dirt is an oxymoron, contradictory.
There are several reasons to sterilize the soil, the big ones being pests and disease.
A big one for me is … Fungus Gnats! If you have never had them, then you are the luckiest gardener I know. These annoying little things are the main reason I ever started sterilizing the soil. It seemed that no matter what brand or store I shopped, I got gnats.
Insects and their larvae can be present in the soil. Even fresh purchased soil from the stores. It is not the fault of the soil companies. This is something that is often misunderstood and ends up costing a company reputation.
Soil packages need to be breathable, or they will build up fungus and molds. They have holes in the bags for air. These holes that allow for air also allow for pests.
These pesky little critters see this delicious-looking excellent soil and think YUMMY! They want to make it a home. Who could blame them? You would, too, if you were a bug. They lay their eggs or set up camp after the soil is packaged.

I could go on to list a plethora of plant diseases here. Some you may or may not have heard of. A common one you may have heard of is blight found often in tomatoes. Perhaps the dreaded Fusarium Wilt, or even the ever frustrating dampening off disease.
If you have not heard of them, it is OK. They are BAD; that is all that is important.
They are all caused by harmful bacteria and pathogens in the soil. Bacteria and pathogens can live and remain and the soil long after plants have been removed. Every time a new plant is grown in the soil, it can grab the previous planting disease.
Sterilization kills these pathogens that can cause issues. In the same fashion as a surgeon prepares for surgery, you prepare your plant for transplant in a pleasantly clean, sterile environment.
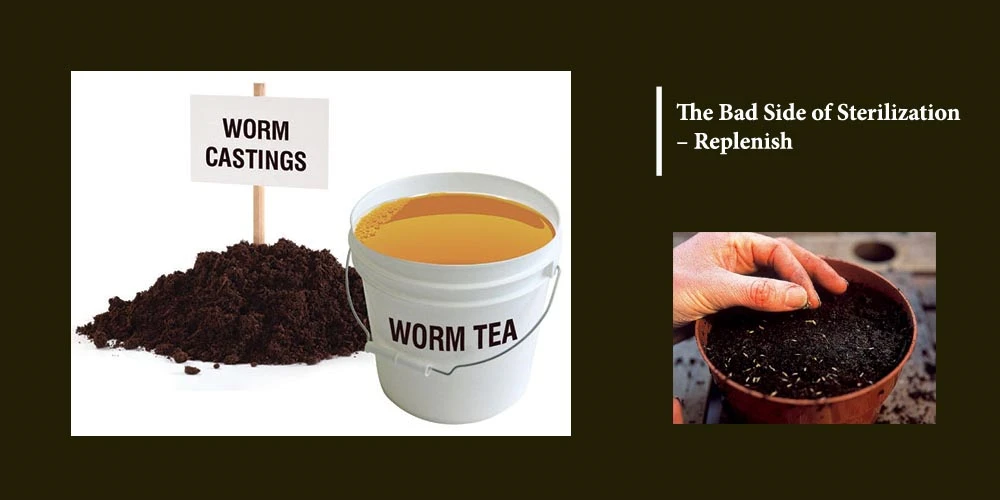
There are ALSO beneficial bacteria in the soil. Unfortunately, sterilization does remove those as well. You can not remove one without the other.
Re-nourish your soil with good organic fertilizers. I am a massive fan of worm castings. It is loaded with “goodies.” My garden results have always been the most compelling evidence I have needed to love worm castings. ⇒ I wrote an article about the castings I use. They are amazing. You can check it out by following this link Simple Grow Soil Builder – Worm Castings.
Adding in mycorrhizal fungi is another excellent way to reintroduce good bacteria. It helps with healthy root growth and counteracts soil deficiencies. It is an organic product that acts as a soil inoculant. Like a beneficial vaccine.
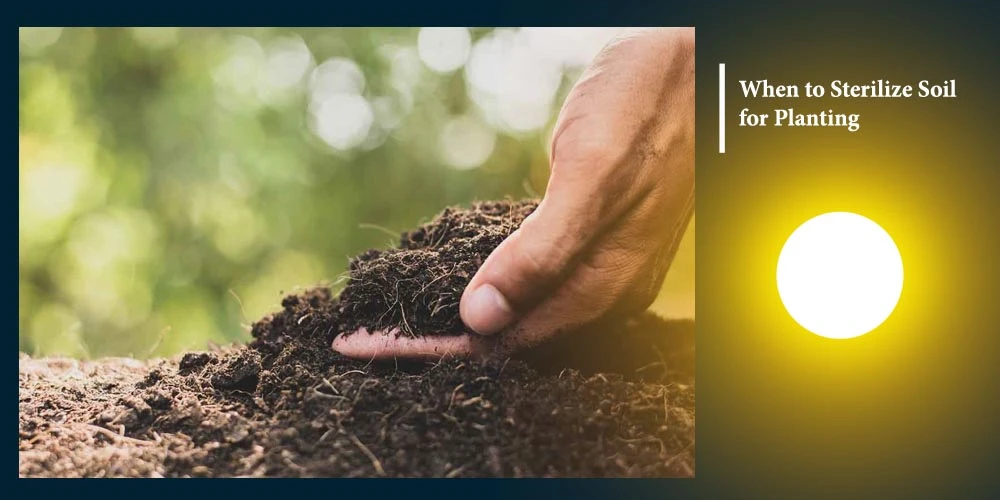
Sterilizing soil when you have a growing plant in a pot is a no-no. It will kill your plant. So, when do you perform soil sterilization:
Seed starting – if your seed mix is not pre-sterilized, sterilization is a great idea. Your seedlings will be more susceptible to harmful pests and disease-causing bacteria.
Cuttings – Like your seed starts, your fresh cuttings have newly developing roots. This makes them more vulnerable to the baddies.
Transplanting Seedlings – Young plants do not have the root system strength to fend off attacks. Giving them a clean start will ensure ample time to develop.
Past Issues – We will all run into trouble in the garden now and again—bouts of mold, fungus, or pests that caused issues. You can save the soil with some sterilization and fertilization.
Have a pest issue in existing potted plants. In this article, You can find some Super bonus pest prevention and Awesome ways to rid Aphids. It emphasizes the importance of soil health and healthy plants to prevent and treat infestations.
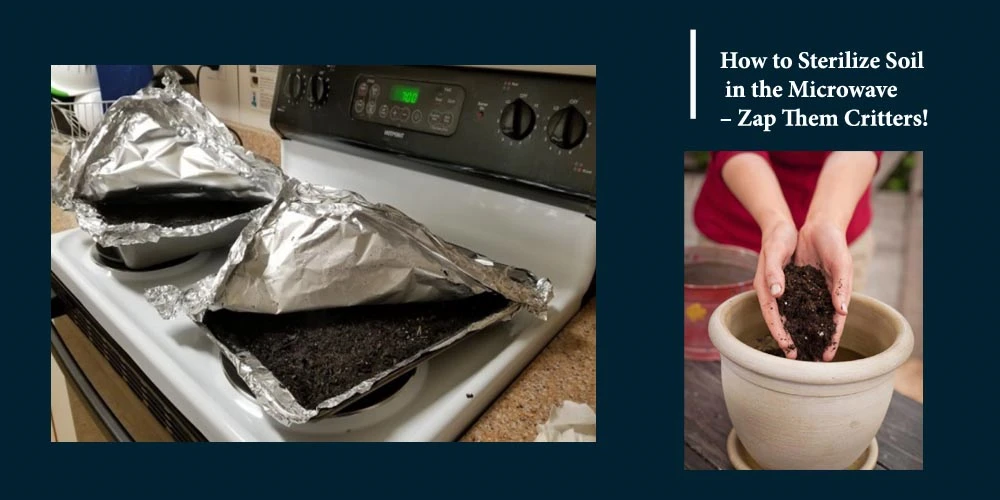
What you need:
⇒ Glass or plastic container able to hold about 2lbs of soil
alternative: microwave-safe polypropylene bag
⇒ Recommended: Meat thermometer or Infrared Thermometer
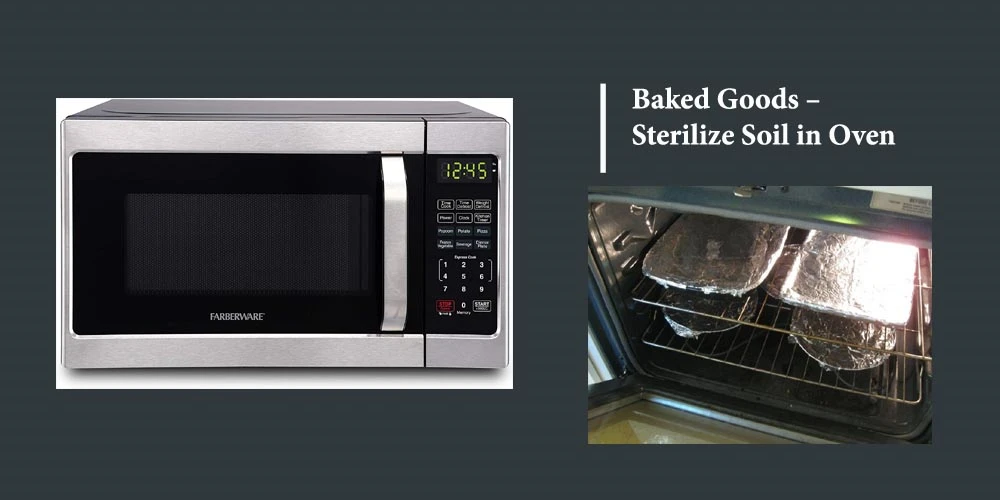
What You Need
The last part has a bit of controversy. I know several other gardeners who sterilize at a steady tempo for 30 minutes to 2 hours. I find that overkill and a risky venture for killing your soil ultimately. Nothing will live after it has reached the proper temperature. The remaining time in the oven to cool ensures heat remains long enough to destroy bacteria and pests.
Even farms and Greenhouse operations need to worry about soil contamination. Outbreaks of bacteria and fungi can easily damage large crop productions. Pests and nematodes can launch mass destruction and cause a food crisis.
Learn how farmers sterilize their soil here in this Soil Steam sterilization article on Wikipedia.
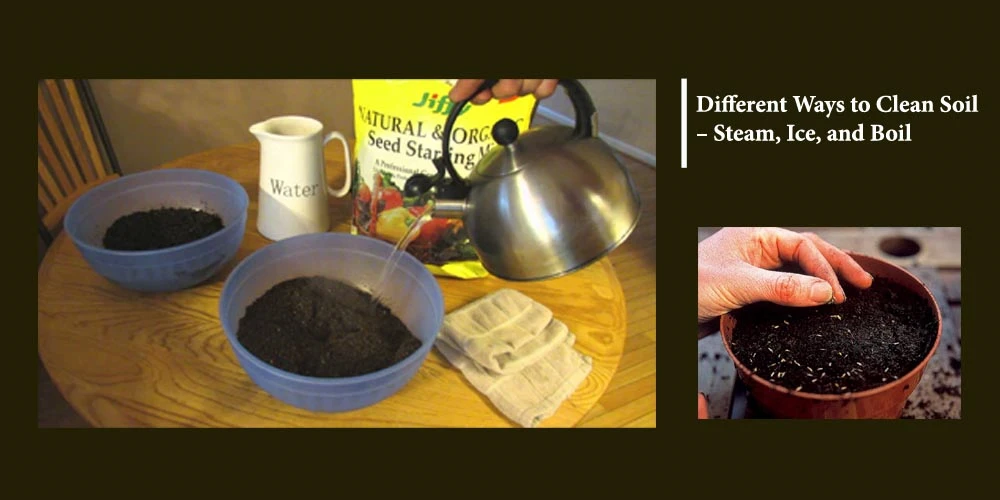
Although large farms have heavy equipment for stele sterilization, small home gardeners do not need to make that investment. Steaming can be done in small batches indoors. I do not personally use this method because I find the smell to be far more vital. Also, the temperature was difficult for me to regulate appropriately. It may be an alternative method for you to try if the oven and microwave are not ideal for your needs.
The linked video to the right focuses on two simple methods for seed starting mix sterilization as an illustration. In “how to Stop Fungus Gnats and Kill Insect Eggs by using boiling water”. It also instructs on Freezing methods and how to combine both.
Soil sterilization can have a smell. Crack a window and get some fans buzzing if it is too much for you. Often the more prosperous the soil, the more pungent the smell. Try to plan for a lovely day so that you can open things up. I have even brought the microwave outdoors on sunny days.
If you are not going to use your sterilized soil right away, store it indoors. Try to keep it from becoming re-infected with pests. Store in a slightly vented container or bag. If you close off all airflow, you could get mold from the dampness.
I would love to hear your dirt! I mean about your dirt. Could you drop me a comment below? Also, If you have any questions about how to sterilize the soil for planting, please ask. I am always here to help!
Happy Gardening!
 |
 |
 |
 |

About Truman Perkins
Truman Perkins is a Detroit-based SEO consultant who's been in the business for over a decade. He got his start helping friends and clients get their websites off the ground, and he continues to do so today. In his free time, Truman enjoys learning and writing about gardening - something he believes is a natural stress reliever. He lives with his wife, Jenny, and their twins in Detroit.
Follow Christina: ![]()
![]()
![]()
![]()
|
|
|
|
Check These Out
Get new FREE Gifts. Or latest free growing e-books from our latest works.
Disable Ad block to reveal all the links. Once done, hit a button below
|
|
|
|
 rinjal