Last winter, I found a forgotten piece of ginger in my pantry — wrinkled, sprouting little green nubs, and clearly past its kitchen prime. Instead of tossing it, I dropped it into a pot of soil on my windowsill. Three months later, I had lush tropical-looking foliage and the beginnings of fresh ginger right in my living room. If you've ever wondered how to grow ginger indoors, that accidental experiment convinced me it's one of the most rewarding plants and herbs you can cultivate at home.
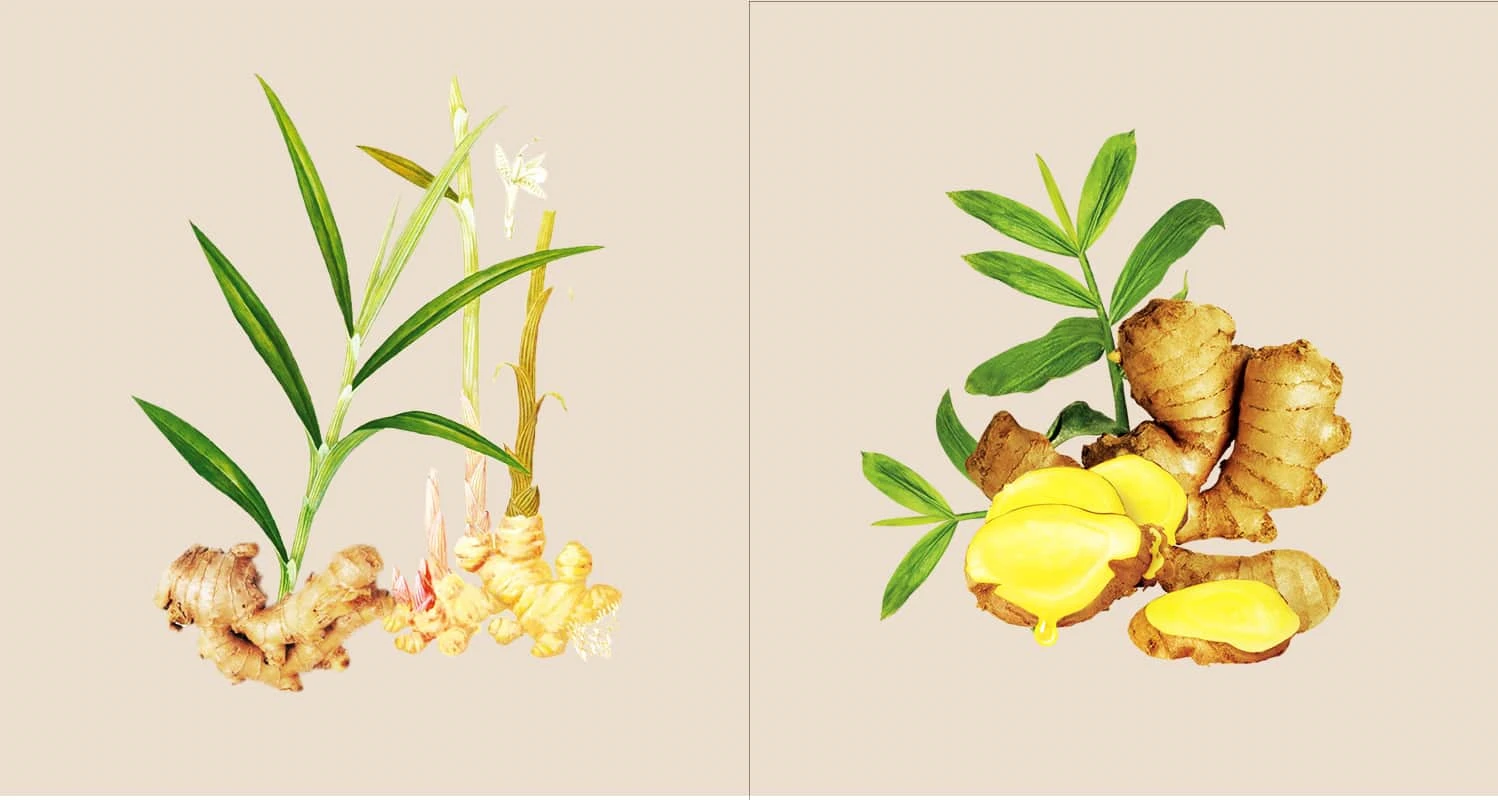
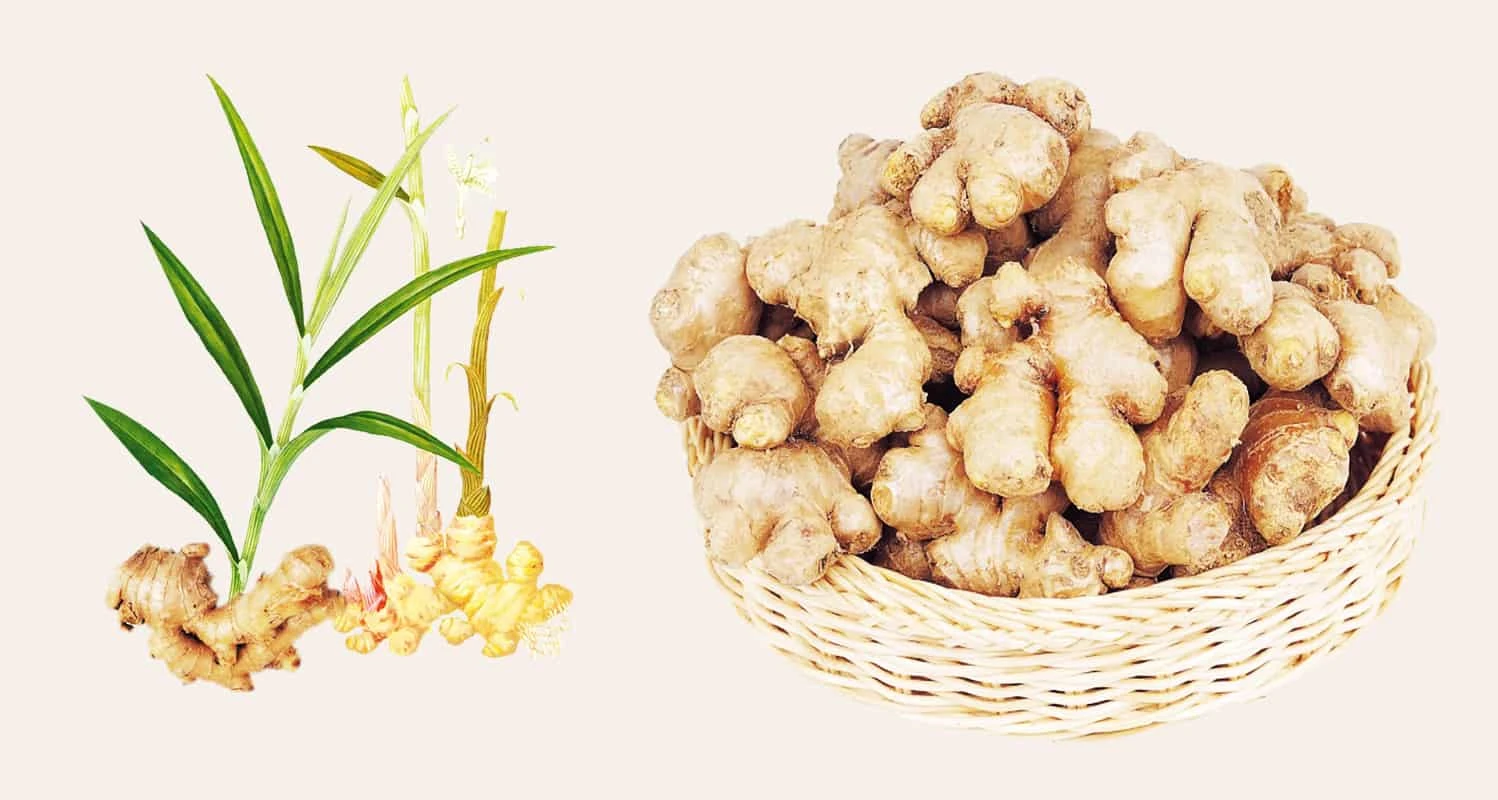
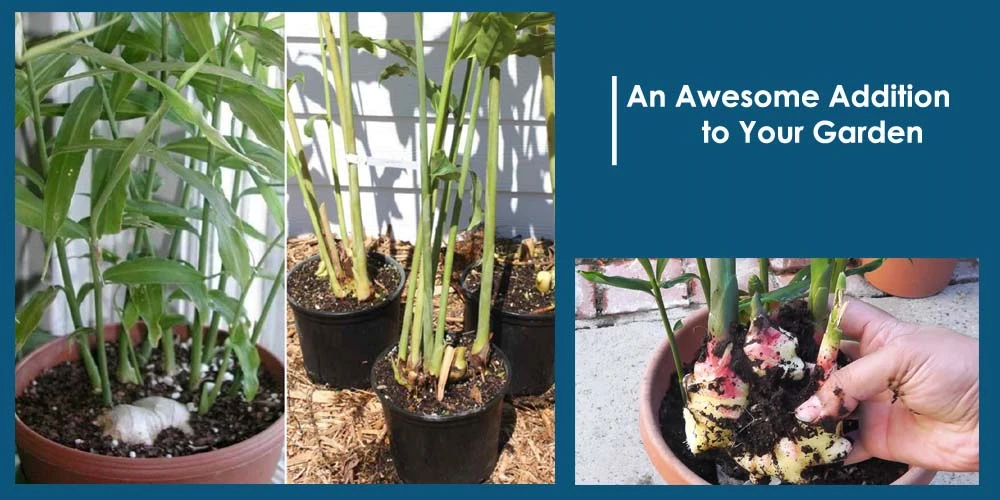
Ginger (Zingiber officinale) is a tropical perennial that thrives in warm, humid conditions — exactly the kind of environment you can replicate inside your home. You don't need a greenhouse or a sprawling backyard. A decent-sized container, the right soil mix, and a bit of patience are all it takes. The plant itself is gorgeous too, with reed-like stems and narrow, glossy leaves that add a lush vibe to any room.
Whether you want fresh ginger for cooking, herbal teas, or simply an attractive houseplant, growing it indoors puts you in full control of the conditions. Let's break down everything you need to get started and keep your ginger thriving season after season.
Contents
Before you plant anything, gather your materials. Growing ginger indoors doesn't require exotic equipment, but having the right setup from the start prevents headaches down the road.
| Item | Recommended Spec | Why It Matters |
|---|---|---|
| Container | 12–14 inches wide, 10+ inches deep | Rhizomes spread horizontally; shallow pots restrict growth |
| Potting mix | Rich, loamy, well-draining | Ginger rots in waterlogged soil |
| Perlite or pumice | 20–30% of soil volume | Improves drainage and aeration |
| Compost or worm castings | Handful mixed into soil | Provides slow-release nutrients |
| Spray bottle | Fine-mist nozzle | Maintains humidity around foliage |
| Liquid fertilizer | Balanced 10-10-10 or fish emulsion | Monthly feeding supports rhizome development |
| Grow light (optional) | Full-spectrum LED, 12–14 hrs/day | Compensates for low natural light in winter |
If you're tight on space, grow bags work beautifully for ginger. Their fabric walls promote air pruning and prevent the waterlogging that rigid plastic pots sometimes cause. A 5-gallon grow bag accommodates two to three rhizome pieces comfortably.
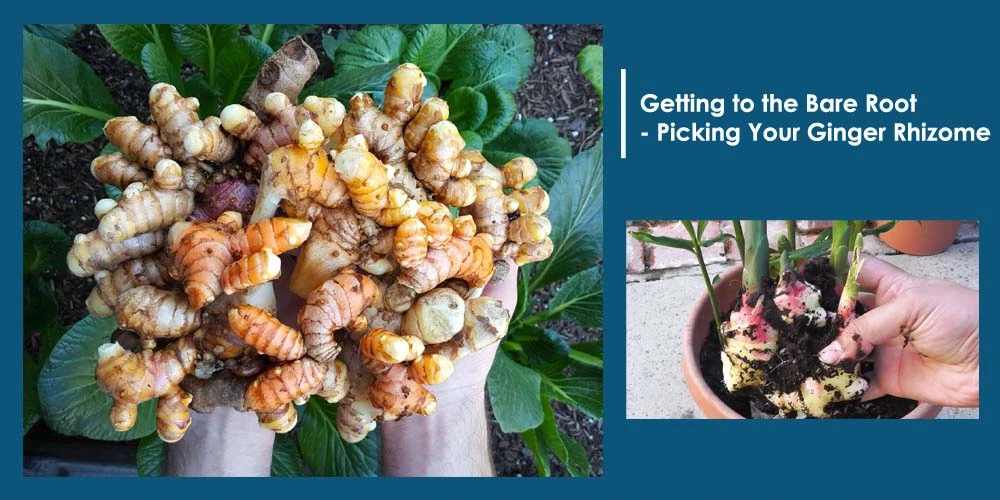
Not all ginger from the grocery store is created equal. Choose rhizomes that are plump, firm, and have visible growth buds — those small, pointed nubs at the tips or joints. Avoid anything that feels soft, wrinkled, or has signs of mold.
If you can only find conventional ginger, soak it in water overnight, then let it dry. This can help flush out some of the growth inhibitors, though results vary.
You can plant rhizomes directly, but pre-sprouting cuts your timeline by a couple of weeks. Wrap your ginger pieces in a damp paper towel, place them in a zip-lock bag (leave it slightly open for airflow), and store in a warm spot — the top of your fridge works well. Check every few days. Once the buds swell and green tips emerge, they're ready to plant.
Pro tip: If you're germinating seeds indoors at the same time, keep your ginger pre-sprout container nearby — the same warm, humid conditions benefit both.
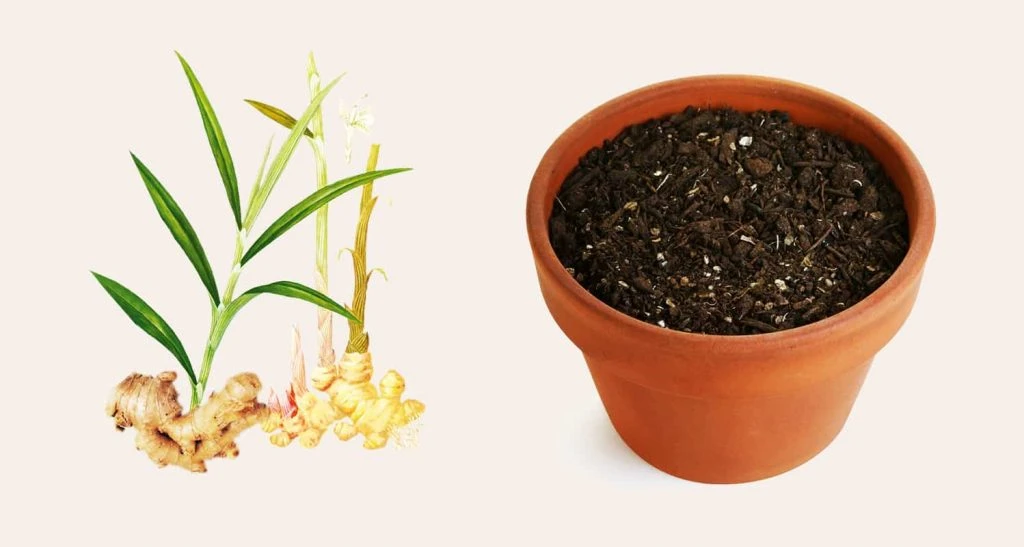
Ginger needs soil that holds moisture without staying soggy. The ideal mix is:
Skip heavy garden soil entirely. It compacts in containers, suffocates roots, and invites fungal issues. If you've ever dealt with root rot in houseplants, poor drainage was almost certainly the cause.
Here's how to get your rhizomes in the ground:
You'll see the first green shoots within two to three weeks. Once they appear, you can gradually introduce more light.
Is growing ginger indoors worth the effort? Here's an honest assessment.
Advantages:
Disadvantages:
For most home growers, the benefits far outweigh the limitations. You won't be supplying a restaurant, but you'll have a steady supply for teas, stir-fries, and home remedies.
If this is your first time, keep it straightforward. One pot, one rhizome, a bright windowsill. East- or west-facing windows provide ideal indirect light. Water when the top inch of soil feels dry — stick your finger in to check. Mist the leaves a few times a week.
That's genuinely all you need to get started. Ginger is forgiving as long as you avoid two things: overwatering and cold drafts. Temperatures below 50°F cause dormancy, and soggy soil causes rot. Avoid both and your plant will grow steadily.
Once you've got a successful first grow under your belt, consider these upgrades:
Warning: Never place ginger directly in front of a heating vent. The dry, forced air desiccates leaves rapidly and stresses the plant, even if the temperature seems right.
Ginger prefers consistently moist — not wet — soil. Here's a seasonal breakdown:
Fish emulsion and seaweed extract are excellent organic fertilizer options. They provide the phosphorus and potassium that rhizome crops crave without the salt buildup of synthetic feeds.
You have two harvesting approaches when you grow ginger indoors:
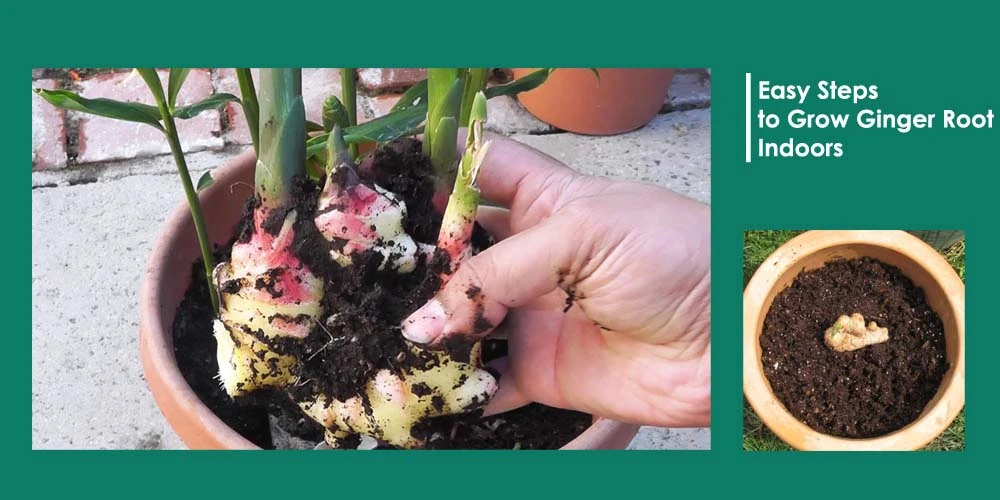
Partial harvest (8+ months): Carefully dig around the edges of the pot and snap off outer rhizome pieces. Leave the main plant and central root mass intact so it keeps growing. This is the approach most indoor growers prefer because it gives you fresh ginger without killing the plant.
Full harvest (10–12 months): When the leaves begin to yellow and die back naturally, tip the entire pot out and collect all the rhizomes. Save a few healthy pieces with buds for your next round of planting.
According to Wikipedia's entry on ginger, mature rhizomes are fibrous and nearly dry, while young ginger — harvested early at around 5 months — is tender, juicy, and mild in flavor. Both have their culinary uses.
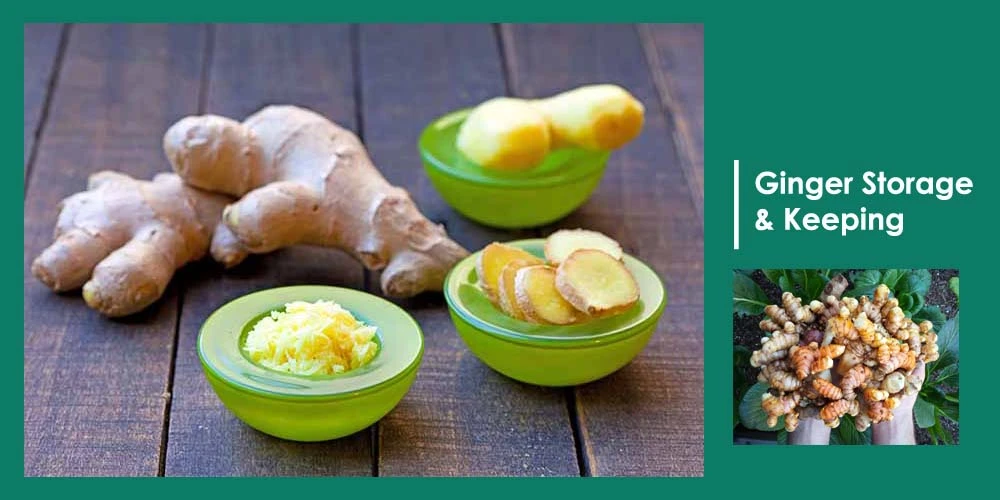
Fresh homegrown ginger is vastly more potent and aromatic than the months-old rhizomes you find in supermarkets. Here's how to make the most of your harvest:
If you're interested in the essential oil side, ginger root CO2 essential oil offers concentrated therapeutic benefits — though extracting it at home requires specialized equipment.
Storage tips: Unpeeled fresh ginger keeps for 2–3 weeks in the refrigerator's crisper drawer. Wrap it in a paper towel, then place it in a zip-lock bag with the air pressed out. Frozen ginger stays good for up to 6 months.
Expect a minimum of 8 months for a partial harvest and 10–12 months for a full harvest. You can snip young ginger at around 5 months for a milder, more tender root, but the rhizomes won't have reached full size or potency yet. Patience is essential with this crop.
Ginger tolerates lower light better than most edible plants, but it still needs bright indirect light for at least 6–8 hours daily. If your apartment lacks natural light, a full-spectrum LED grow light running 12–14 hours per day compensates effectively and produces healthy growth.
Yes — noticeably so. Homegrown ginger, especially when harvested young, is juicier, more aromatic, and less fibrous than the commercial ginger that's been in transit and storage for weeks. The flavor is brighter and more complex, with floral and citrus notes you rarely get from store-bought rhizomes.
 |
 |
 |
 |

About Truman Perkins
Truman Perkins is a Detroit-based SEO consultant who's been in the business for over a decade. He got his start helping friends and clients get their websites off the ground, and he continues to do so today. In his free time, Truman enjoys learning and writing about gardening - something he believes is a natural stress reliever. He lives with his wife, Jenny, and their twins in Detroit.
Get new FREE Gifts. Or latest free growing e-books from our latest works.
Disable Ad block to reveal all the links. Once done, hit a button below
|
|
|
|