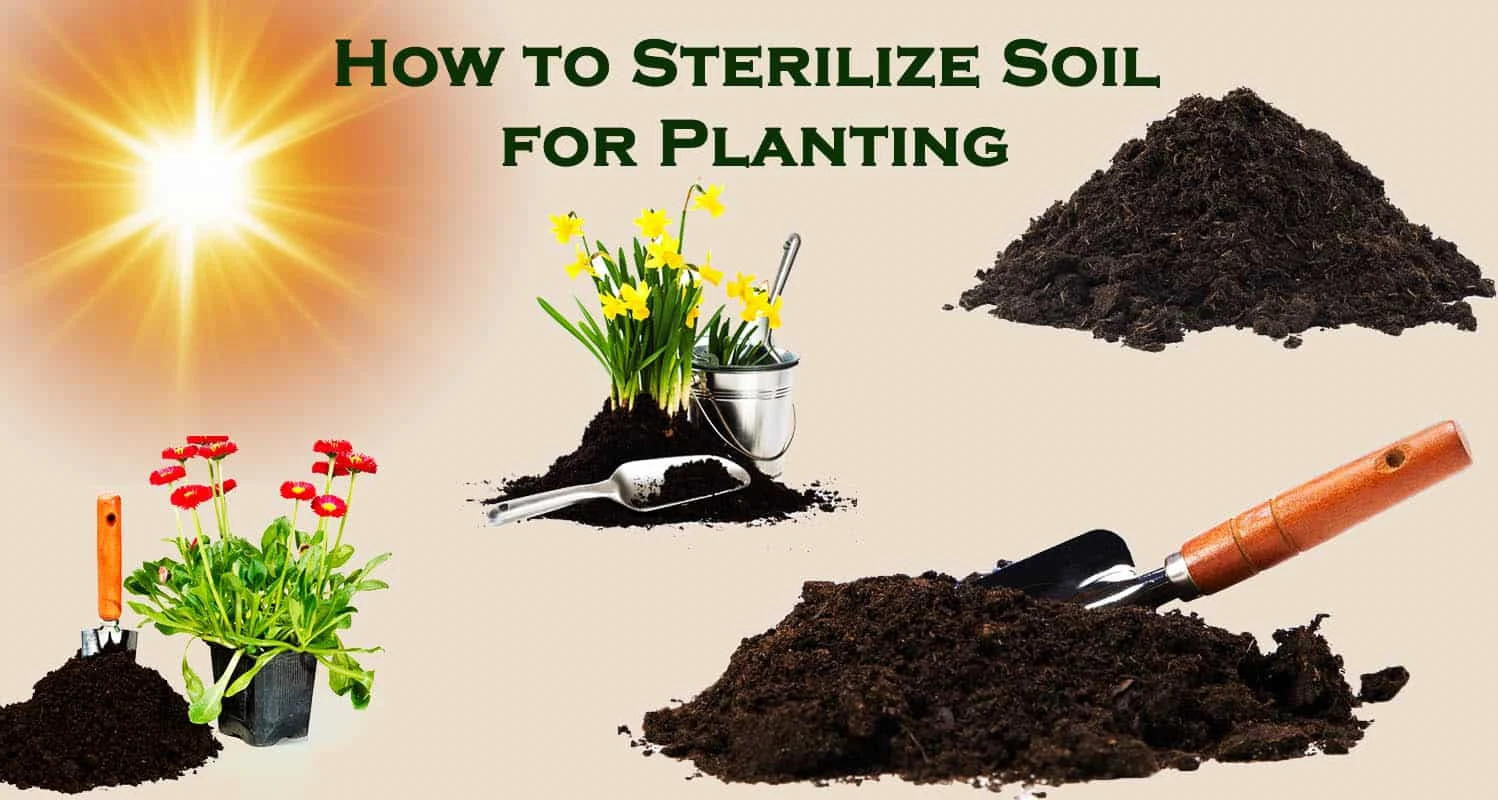
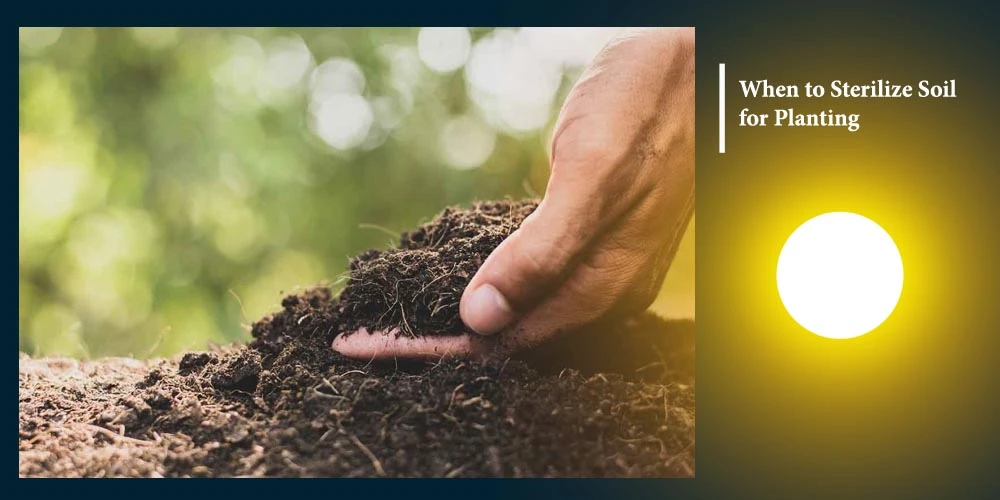
Last spring, I transplanted a whole tray of basil seedlings into a container bed I'd reused from the previous season — and lost every single one to damping off within five days. The culprit was invisible: a fungal pathogen hiding in the old mix. That experience finally pushed me to learn how to sterilize soil for planting, and it changed how I approach every new growing season. Whether you're starting seeds indoors, refreshing a raised bed, or filling containers, clean soil is one of the simplest ways to protect your plants from the start. You'll find more soil and growing guides in our plants and herbs farming section.
Sterilizing soil means using heat, steam, or chemical treatments to kill off weed seeds, fungal spores, harmful bacteria, and insect eggs hiding in the mix. These threats are invisible to the naked eye, but they can devastate seedlings before they ever get established. The process sounds technical, but most methods use equipment you already own.
You don't need a professional greenhouse setup to do this right. A kitchen oven, a microwave, or even a sunny afternoon can get the job done. Once you pick the right method for your batch size and situation, treating soil takes under an hour for most home gardeners.
Contents
Not every planting situation calls for sterilized soil. But there are specific scenarios where skipping it is a real gamble — and knowing the difference saves you time and effort.
According to the U.S. Environmental Protection Agency, soil health directly affects plant performance and the safety of homegrown food — which is exactly why understanding what's living in your soil before planting anything matters.
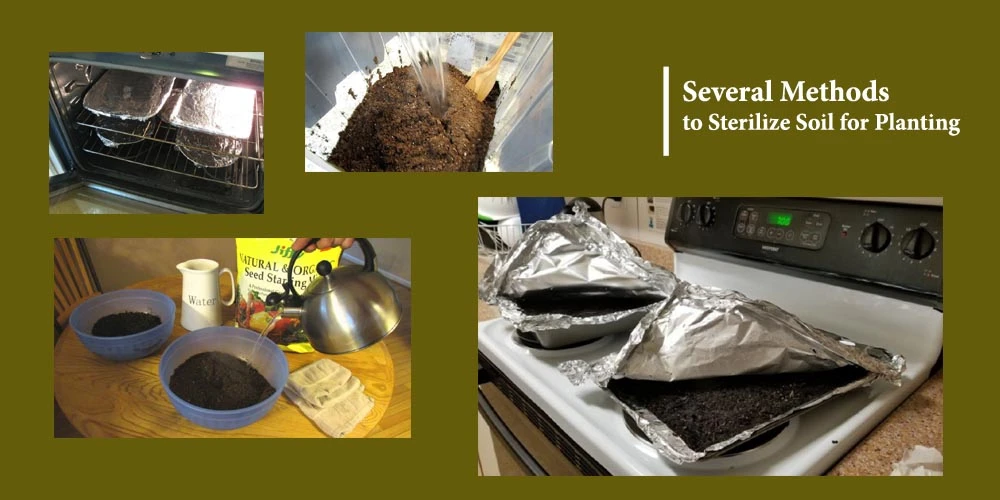
These are the most practical, accessible methods. All of them use heat to kill pathogens. Each one suits a different batch size and time commitment.
This is the fastest approach for small batches of seed-starting mix — up to about two pounds at a time.

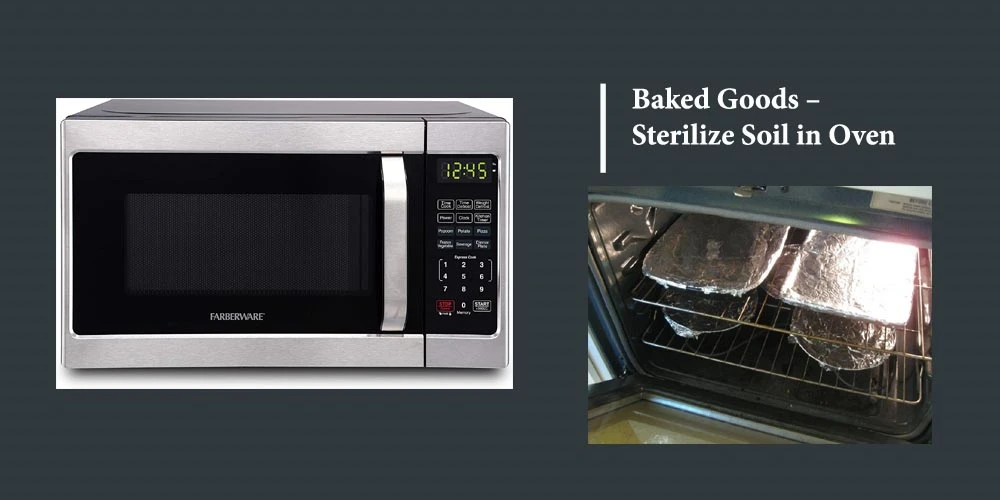
The oven works better for larger batches — several gallons at a time — and gives you more control over temperature.
Pro tip: Never go above 200°F when sterilizing soil in the oven — overheating releases manganese and other compounds at levels that are toxic to seedlings.
Your choice comes down to three factors: how much soil you need to treat, how much time you have, and what equipment you can access. Use this table to compare your options at a glance.
| Method | Best For | Batch Size | Time Required | Equipment Needed |
|---|---|---|---|---|
| Microwave | Seed-starting mix, small trays | Up to 2 lbs | 15–20 min | Microwave, container with lid |
| Oven | General potting soil, containers | 2–5 gallons | 45–60 min | Oven, pan, foil, thermometer |
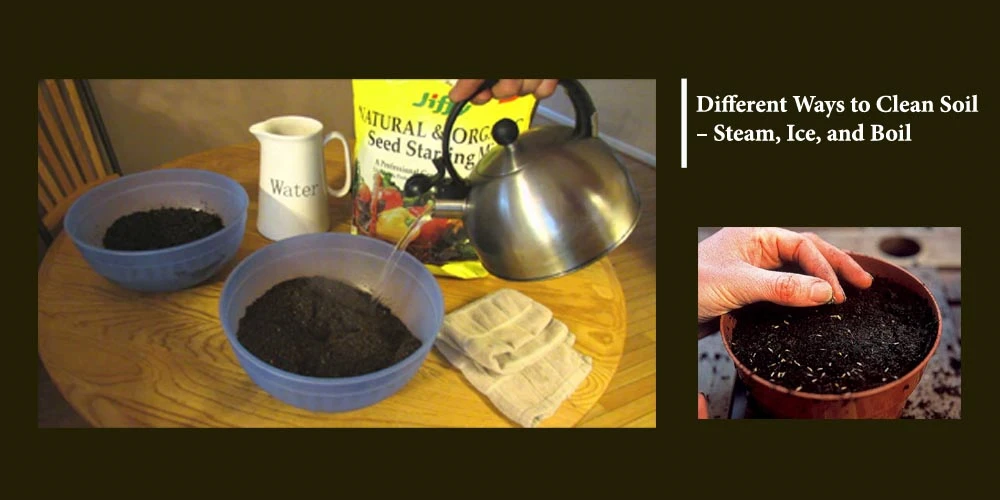
| Steam | Delicate mixes, smaller batches | Up to 1 gallon | 30–40 min | Pot, colander, lid |
| Boiling water | Quick spot treatment | Any size | 15 min + drying time | Kettle, container with drainage |
| Solarization | Large outdoor soil batches | Any size | 4–6 weeks | Black plastic bags, sunny outdoor area |
A few extra tips to keep in mind:
This is one of those garden tasks that almost everyone can afford to do. The cost gap between DIY and commercial options is significant.
For the vast majority of home gardeners, the oven or microwave method costs less than $0.50 per batch in electricity. That's an easy return on investment when you consider how much a crop failure costs in time, money, and frustration.
Sterilization isn't a perfect solution — it comes with genuine trade-offs. Here's a balanced look at both sides so you can make the right call for your garden.
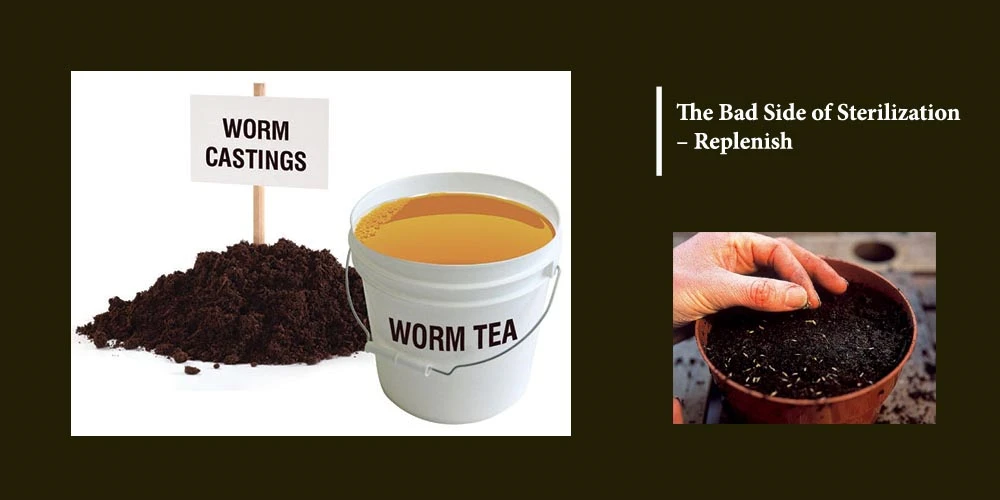
Worth knowing: Sterilized soil is biologically "blank" — plan to add finished compost or a mycorrhizal inoculant after treating it, so beneficial biology has a chance to reestablish before planting.
A few widely repeated ideas about sterilizing soil are simply incorrect. Here's what the evidence actually shows.
Once sterilized soil is exposed to open air, unclean tools, or untreated water, it can pick up new pathogens within hours. Sterility doesn't hold — use it promptly or seal it in an airtight container.
The vast majority of microorganisms living in soil are neutral or actively beneficial. Sterilization removes all of them indiscriminately — which is why it should be targeted and followed by soil amendment, not used as a default for every planting.
Chemical soil sterilants like formaldehyde were once common in commercial growing but are largely phased out now. They're difficult to handle safely, can leave harmful residues, and require long aeration periods. For home gardeners, heat methods are safer and equally effective.
Freezing doesn't reliably kill most soil pathogens — it just puts them into dormancy. Cold treatment can reduce some weed seed viability, but it's not a substitute for proper pasteurization. When temperatures warm up, pathogens resume activity.
Sterilization is a targeted tool, not a routine step. Use it when there's a genuine reason — disease history, reusing old mix, or starting vulnerable seedlings. Healthy outdoor beds in good condition don't need it.
How you handle soil after sterilization is just as important as the treatment itself. A few simple steps make the difference between sterile-but-lifeless soil and soil that's genuinely ready to support healthy plants.
Yes — reusing old mix is actually one of the main reasons to sterilize in the first place. After treating it with heat, amend it with compost and a slow-release fertilizer before planting. The sterilization process removes the beneficial biology the soil originally contained, so you'll need to put some of that back before expecting good plant performance.
Not very long once it's exposed to open air. Sterilized soil can pick up new pathogens within hours of exposure to unclean tools, water, or the environment. If stored in a sealed, dry container, it stays clean for roughly two to three weeks. After that, treat it like regular used soil and re-sterilize if needed for vulnerable seedlings.
It's safe at low temperatures (180–200°F), but moist soil produces a noticeable earthy smell while heating. Open windows and run exhaust fans during and after the process. Never exceed 250°F for indoor use — higher temperatures can release compounds that are irritating to the lungs, particularly from organic-rich mixes.
Clean soil isn't the end of the work — it's just the honest beginning of it.
 |
 |
 |
 |

About Truman Perkins
Truman Perkins is a Detroit-based SEO consultant who's been in the business for over a decade. He got his start helping friends and clients get their websites off the ground, and he continues to do so today. In his free time, Truman enjoys learning and writing about gardening - something he believes is a natural stress reliever. He lives with his wife, Jenny, and their twins in Detroit.
Get new FREE Gifts. Or latest free growing e-books from our latest works.
Disable Ad block to reveal all the links. Once done, hit a button below
|
|
|
|