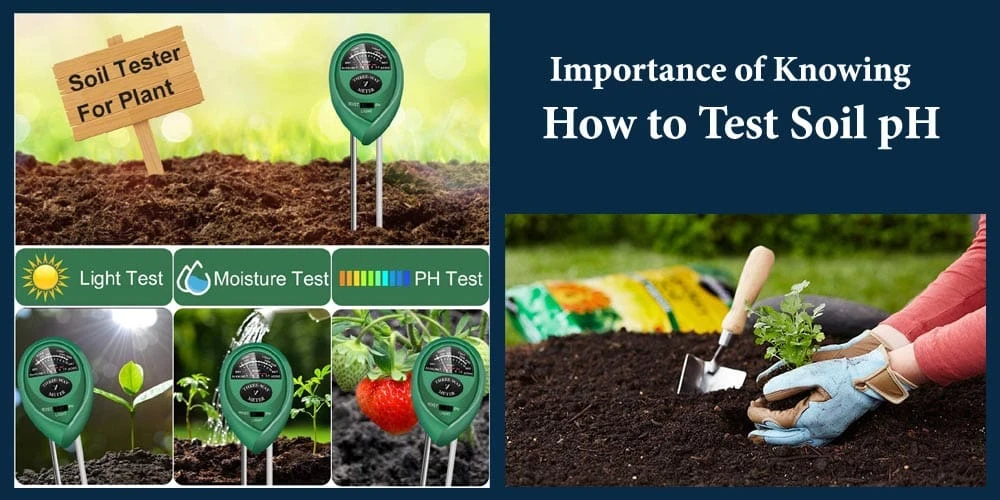
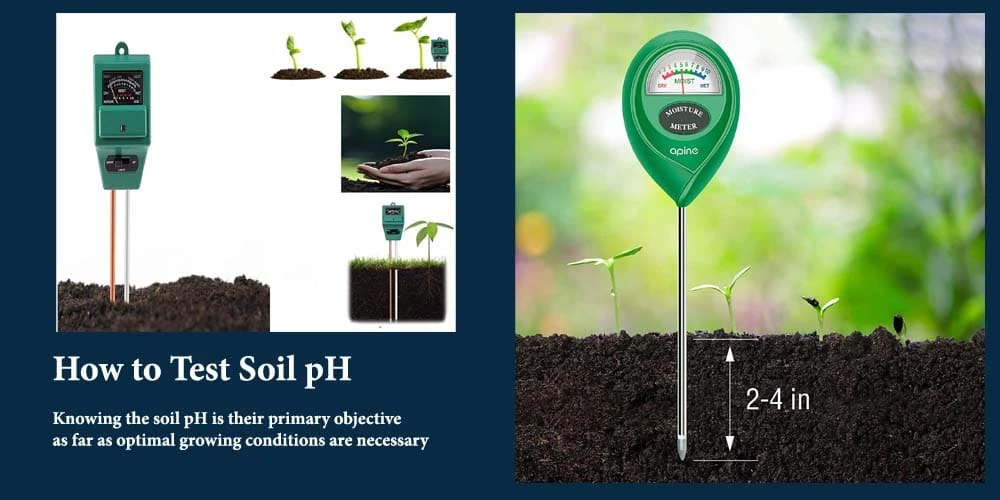
Have you ever watered, fertilized, and amended your garden beds all season — only to watch your plants struggle anyway? The answer is almost always in the soil. Learning how to test soil pH is the single most actionable diagnostic step any gardener can take, and it takes less than fifteen minutes. Once you have that number, every fertilizer choice, amendment decision, and watering schedule clicks into place.
Soil pH sits at the center of nearly every nutrient interaction in your garden. A reading that's half a point too low or too high locks phosphorus, iron, calcium, or manganese out of your plants' root systems entirely — even when those nutrients are physically present in the soil. No amount of fertilizer overcomes that barrier until you fix the underlying pH first.
This guide covers every available testing method, the tools worth owning, a reliable step-by-step sampling protocol, and the most common mistakes gardeners make when interpreting results. Whether you're growing tomatoes in raised beds, establishing a grapevine (see our guide on how to plant grapes for their specific pH requirements), or diagnosing persistent yellowing in your herb beds, your pH number is where every good decision starts.
Contents
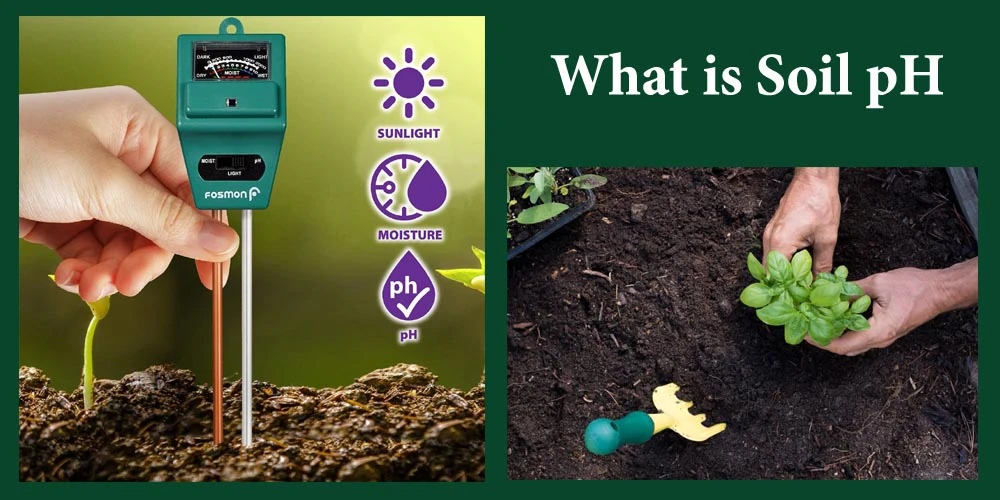
pH stands for "potential of hydrogen." It measures the concentration of hydrogen ions in your soil solution on a logarithmic scale from 0 to 14. A reading of 7.0 is neutral. Below 7.0 is acidic; above 7.0 is alkaline. Because the scale is logarithmic, a pH of 5.0 is ten times more acidic than a pH of 6.0 — not just one unit different. That distinction matters when you're calculating amendment rates.
Most garden plants perform best somewhere between 6.0 and 7.0. That range keeps the widest variety of nutrients in solution and available to roots. Step outside it and nutrient availability drops sharply, regardless of how much you've amended.
According to the overview of soil pH on Wikipedia, the solubility of plant nutrients shifts dramatically across even small pH changes. Phosphorus — one of the three core macronutrients — is most available between 6.0 and 7.0. Drop below 5.5 and it binds to aluminum and iron compounds. Raise above 7.5 and it binds to calcium. Either way, it becomes chemically inaccessible to roots.
Micronutrients like iron, zinc, copper, and boron are most soluble under slightly acidic conditions. Alkaline soils routinely starve plants of these elements even when the soil contains them in reasonable concentrations. That's why pH is the first test, not the last.
Different crops have very different pH tolerances. Blueberries demand 4.5–5.5. Asparagus prefers 6.5–7.5. Potatoes do well from 4.8–6.0 — partly because that low pH suppresses the scab-causing bacteria that plague alkaline potato beds. Planting without testing is guessing with expensive seeds and time.
Here's a quick reference for common garden plants:
Balanced soil pH also produces denser, better-storing root vegetables. If your carrots come out hollow or split, pH is often part of the diagnosis — something worth keeping in mind when you read our guide on how to store carrots from the garden.
Fertilizer applied to out-of-range soil is largely wasted money. If your pH sits at 8.0, the iron in your chelated fertilizer will precipitate before roots can absorb it. If it's 5.0, the phosphorus you just applied binds immediately to aluminum ions. Fix pH first, then fertilize — not the reverse. This applies equally to commercial granular products and homemade inputs like fertilizer sticks, which deliver nutrients directly to the root zone but can't overcome a pH barrier.
Pro insight: a $12 pH test kit can save you from wasting an entire season's worth of fertilizer on soil that's chemically locked against your plants.
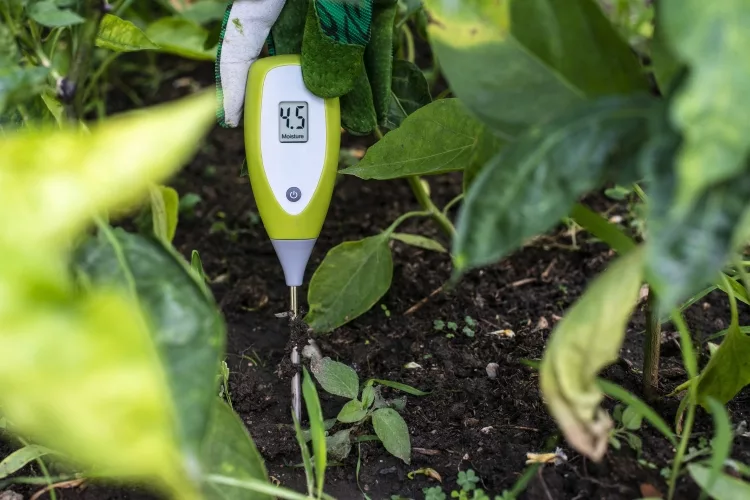
If you've never tested your soil pH before, a simple home test kit is the right starting point. These kits cost between $6 and $20, require nothing beyond a glass jar and distilled water, and return results within minutes. The tradeoff is precision — most home kits read to within ±0.5 pH units.
For most vegetable gardeners, ±0.5 is sufficient for amendment decisions. You're not splitting hairs between 6.3 and 6.4 — you're diagnosing whether soil sits inside or outside the acceptable range.
Beginner-appropriate options include:
Move to a digital meter or professional lab test when any of these apply:
Professional soil lab tests — offered by most state cooperative extensions and private labs — return results to ±0.1 pH units and include full nutrient profiles. They cost between $15 and $40 per sample and are worth every dollar for large-scale amendment planning.
Every testing method has a different accuracy ceiling. The right choice depends on your crop requirements, how much precision you need, and what you're willing to spend. Understanding the tradeoffs before you buy saves you from either under- or over-investing in equipment.
| Method | Accuracy | Cost | Time to Result | Best For |
|---|---|---|---|---|
| Litmus paper strips | ±1.0 pH | $3–$8 | 30 seconds | Rough directional check only |
| Chemical test kit | ±0.5 pH | $6–$20 | 5–10 minutes | Home vegetable and herb gardens |
| Analog probe meter | ±0.5–1.0 pH | $10–$30 | 1–2 minutes | Quick field checks; less reliable long-term |
| Digital pH meter | ±0.1–0.2 pH | $30–$100 | 1–3 minutes | Serious gardeners, narrow-tolerance crops |
| Lab soil test | ±0.1 pH | $15–$40 | 3–10 days | New land, orchards, vineyards, problem diagnosis |
| Vinegar + baking soda | Qualitative only | $0 | 2 minutes | Rough acid/alkaline indicator — no usable number |
The vinegar and baking soda method is popular in online tutorials and useful for understanding the concept — but do not base any amendment decision on it. It tells you roughly acidic or roughly alkaline, nothing more. A $12 chemical kit gives you an actual number you can act on.
You don't need an expensive setup to get accurate, reproducible results. Before you start, assemble these items:
If you're using a digital meter, you also need pH 4.0 and pH 7.0 calibration buffer solution, plus a clean cloth for wiping the probe between samples. Most meters ship with calibration packets — use them every session, not just at purchase.
For a broader look at quality garden testing and maintenance tools worth owning, browse the gardening reviews section — it covers pH meters, soil augers, and other equipment rated by hands-on garden experience.
Warning: never test immediately after applying lime, sulfur, or fertilizer — wait at least 4 weeks for soil chemistry to stabilize, or your reading will not reflect your actual baseline conditions.

Sample quality determines result quality. A single spoonful taken from one spot is not representative. Follow this composite sampling protocol for reliable readings:
If you have distinct areas with different plant types or amendment histories, test them separately. Never mix samples from your vegetable bed and your blueberry patch — they have different pH targets and different amendment needs.
Using a chemical test kit:
Using a digital pH meter:
Once you have a number, compare it against the target range for your specific crops. General amendment guidance for vegetable beds:
Amendment rates differ significantly by soil texture. Sandy soils shift pH quickly and need smaller applications. Heavy clay soils buffer pH change and require more material applied over multiple seasons. Always account for texture when calculating rates, not just the current reading.
Timing your test correctly gives you the most accurate baseline reading and enough lead time to amend before planting season begins.
If you're setting up an indoor herb garden, test your potting mix before planting. Bagged commercial mixes vary widely in pH, and herbs like basil, parsley, cilantro, and thyme perform noticeably better in slightly acidic to neutral conditions (6.0–7.0). Don't assume the bag's label tells the whole story.
Not every situation demands an immediate test. Skip it or delay when:
These errors are more common than most guides admit. Each one costs you accuracy and leads to wrong amendment decisions:
Inconsistent results from the same spot are a common frustration. The most likely causes:
If results still don't make sense after addressing these variables, send a sample to your state cooperative extension soil lab. A professional test eliminates equipment and technique variables completely and often identifies secondary issues — salt accumulation, heavy metal contamination, compaction layers — that no home kit can detect.
Test every 2–3 years for established beds where you're not making heavy amendments. Test annually if you're actively adjusting pH with lime or sulfur, or if you grow pH-sensitive crops like blueberries, wine grapes, or azaleas. Always test before establishing any new planting area — regardless of when you last tested nearby ground.
No. That method only tells you whether your soil is broadly acidic or broadly alkaline — it produces no usable number. For any amendment decision, use a chemical test kit ($6–$20) or a calibrated digital meter. The vinegar and baking soda approach is useful for classroom demonstrations, not garden management.
Ground limestone typically takes 2–6 months to fully react and shift pH. Finely ground or pelleted lime acts faster than coarse lime; hydrated lime acts fastest but carries a higher burn risk if over-applied. Apply in fall when you need results by the following spring planting season. For large corrections (more than 1 full pH unit), plan to amend across two or three seasons rather than applying a massive single dose.
No — sensitivity to pH shifts varies widely by species. Blueberries and azaleas are highly sensitive to even slight alkaline movement. Zucchini, sunflowers, and most annual herbs tolerate a wide pH range without noticeable decline. Always look up the specific target pH for each crop you grow rather than assuming the standard vegetable range (6.0–7.0) applies universally across your entire garden.
 |
 |
 |
 |

About Truman Perkins
Truman Perkins is a Detroit-based SEO consultant who's been in the business for over a decade. He got his start helping friends and clients get their websites off the ground, and he continues to do so today. In his free time, Truman enjoys learning and writing about gardening - something he believes is a natural stress reliever. He lives with his wife, Jenny, and their twins in Detroit.
Get new FREE Gifts. Or latest free growing e-books from our latest works.
Disable Ad block to reveal all the links. Once done, hit a button below
|
|
|
|