Last spring, I watched a neighbor haul bag after bag of expensive indoor growing equipment into his garage, convinced that was the only way to cultivate quality cannabis. Three months later, my outdoor plants — grown with sunlight, good soil, and a little patience — outperformed his entire setup. If you want to learn how to grow cannabis outdoors, you're choosing the method that nature designed. Outdoor cultivation produces robust plants with complex terpene profiles, and it costs a fraction of an indoor operation. Whether you're a first-time grower or transitioning from indoor herb growing, this guide covers everything you need from site selection through harvest.
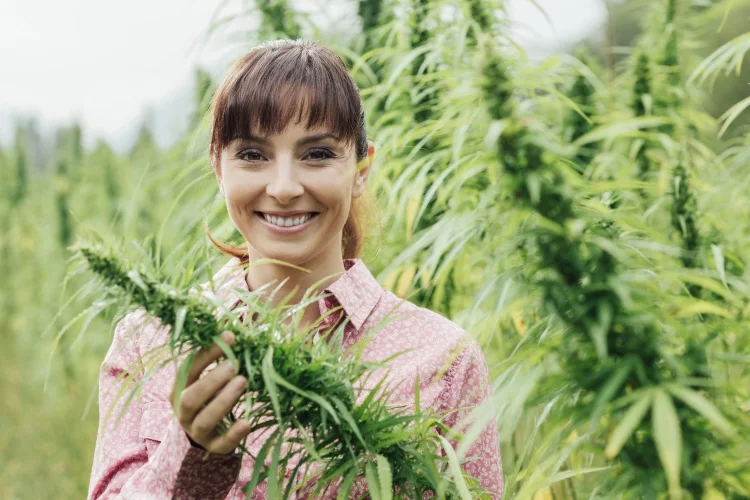
Outdoor growing strips away the complexity. No ballasts, no exhaust fans, no electricity bills that make you wince. The sun delivers a full spectrum of light that no LED panel can replicate, and natural airflow strengthens stems in ways a clip-on fan never will. Your main job is to give the plant what it needs and stay out of its way.
That said, outdoor cannabis cultivation does demand planning. You're working with your local climate, your specific soil conditions, and whatever pests happen to live nearby. The sections below walk you through every stage — from choosing the right spot to cutting down mature buds — so you can grow with confidence.
Contents
Growing cannabis outdoors isn't just the budget-friendly option — it's often the superior one. Plants grown under natural sunlight develop broader canopies and denser root systems. The result is larger yields per plant compared to most indoor setups.
The sun provides the full electromagnetic spectrum, including UV-B rays that stimulate trichome production — the resin glands responsible for potency and aroma. Indoor lights approximate this spectrum, but they don't match it. A cannabis plant receiving 10-12 hours of direct sunlight during the growing season has everything it needs to thrive.
Key benefits of natural sunlight:
An indoor setup with quality lights, ventilation, and climate control runs $1,500-$3,000 before you even plant a seed. Outdoor growing? You need soil, amendments, seeds, and basic tools. Your startup cost sits between $100 and $300. The sun and rain are free. Similar to building a garden fence for your vegetable beds, protecting your outdoor cannabis plot is a one-time investment that pays off across multiple growing seasons.
Misinformation keeps many growers indoors when they'd be better off outside. Let's clear the air on the biggest misconceptions.
The claim that outdoor cannabis is weaker than indoor is flatly wrong. According to the National Institutes of Health, cannabinoid concentrations depend primarily on genetics and growing conditions, not whether a roof is overhead. Well-tended outdoor plants with quality genetics routinely test at 20%+ THC. The myth persists because poorly maintained outdoor grows do underperform — but that's a grower problem, not an outdoor problem.
Some new growers think outdoor cultivation requires expert-level knowledge. In reality, cannabis is a hardy annual plant. It evolved outdoors. If you can grow tomatoes or peppers, you can grow cannabis. The plant wants to succeed — you just need to avoid the common mistakes covered in this guide.
Pro tip: Start with autoflowering strains for your first outdoor season. They flower based on age rather than light cycle, making them forgiving for beginners and ready to harvest in 10-12 weeks from seed.
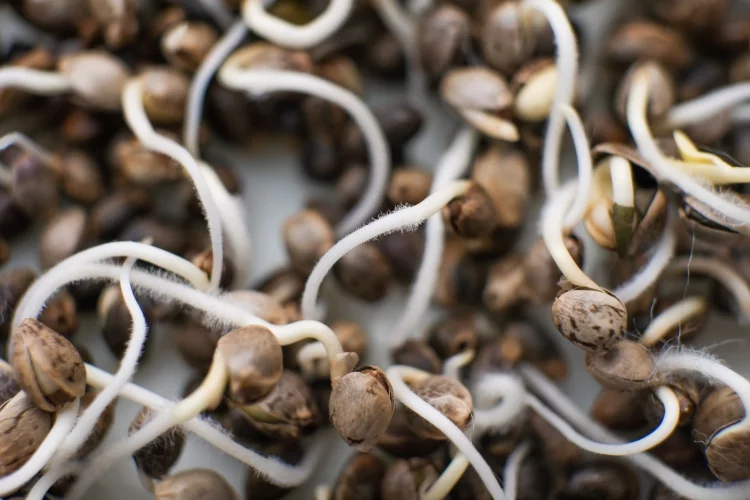
You don't need a warehouse of supplies. Here's what actually matters when learning how to grow cannabis outdoors, broken into two categories.
Cannabis thrives in well-draining, nutrient-rich soil with a pH between 6.0 and 7.0. Your native soil rarely hits that mark without help. Build your growing medium with these components:
If you're working with heavy clay soil or sandy conditions, consider building raised beds instead. The principles of getting the right depth for a raised bed apply here — 18-24 inches gives cannabis roots plenty of room to spread.
Outdoor plants face wind, rain, animals, and nosy neighbors. Prepare for all of them:
This is where growers either coast to a great harvest or watch their plants decline. Consistent care through the vegetative and flowering stages separates good results from great ones.
Cannabis needs consistent moisture but hates soggy roots. The same principles from watering a vegetable garden apply: water deeply and less frequently rather than lightly every day. This encourages roots to grow downward seeking moisture, building a stronger plant overall.
Follow these guidelines:
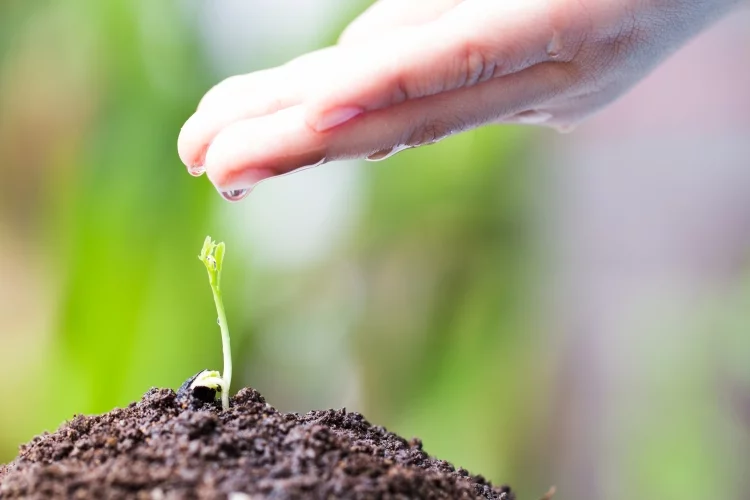
Cannabis is a heavy feeder with changing needs throughout its lifecycle. During vegetative growth, it craves nitrogen. Once flowering begins, it shifts to demanding phosphorus and potassium. Overfeeding causes more problems than underfeeding — start at half the recommended dose of any commercial nutrient line and increase only if the plant shows deficiency signs.
Watch for these signals:
Warning: Stop all nutrient feeding 2 weeks before harvest. This "flush" period allows the plant to use stored nutrients, resulting in cleaner-tasting buds with smoother smoke.
Still debating whether to grow outside? This comparison lays out the differences clearly. If you've already run a grow tent setup, you'll notice outdoor growing simplifies most of the variables.
| Factor | Outdoor Growing | Indoor Growing |
|---|---|---|
| Startup Cost | $100–$300 | $1,500–$3,000+ |
| Monthly Running Cost | $10–$30 (nutrients/water) | $100–$300 (electricity alone) |
| Yield per Plant | 500g–2kg+ | 100g–500g |
| Harvests per Year | 1–2 (climate dependent) | 3–6 (perpetual possible) |
| Light Quality | Full spectrum + UV | Approximated spectrum |
| Environmental Control | Limited (weather dependent) | Full control |
| Stealth/Privacy | Low (visible, odor carries) | High (contained environment) |
| Pest Pressure | Higher (open environment) | Lower (controlled access) |
The trade-off is clear: outdoor growing wins on cost, yield, and light quality. Indoor growing wins on control, privacy, and year-round production. For most home growers in suitable climates, outdoors delivers the best return on investment.
Even well-planned outdoor grows hit snags. Here's how to handle the most common issues without losing your harvest.
Outdoor cannabis attracts aphids, spider mites, caterpillars, and slugs. The same strategies for keeping animals out of your garden work for larger pests, but insects require targeted responses:
Inspect your plants every morning. Catching problems early — within 24-48 hours — is the difference between a minor inconvenience and a lost crop.
Heavy rain, wind, and unexpected cold fronts are the outdoor grower's biggest challenge. Here's your response playbook:
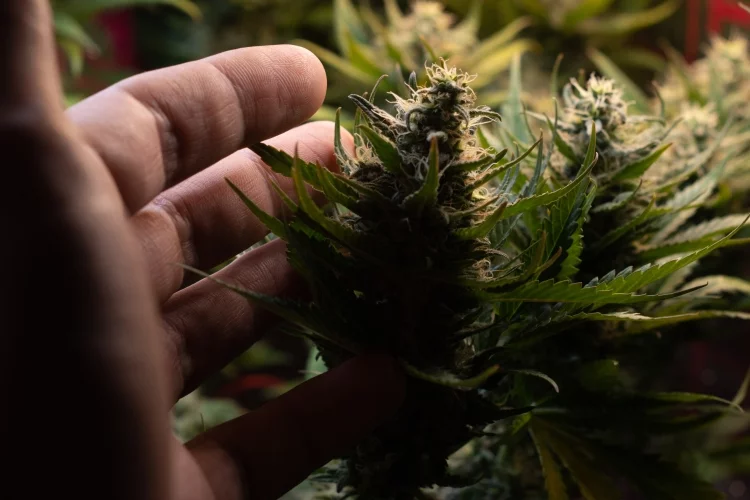
Harvest timing depends on trichome color. Use a jeweler's loupe or digital microscope to check: clear trichomes mean the plant isn't ready, milky-white indicates peak THC, and amber signals higher CBN with a more sedative effect. Most growers aim for 70-80% milky with 20-30% amber for a balanced effect.
Plant seeds or transplant seedlings after the last frost date in your area, typically between late April and early June in most North American climates. Soil temperature should be consistently above 60°F (15°C). Starting seeds indoors 4-6 weeks before transplant gives your plants a head start on the growing season.
Give each plant a minimum of 6 feet of diameter for adequate airflow and light penetration. In ideal conditions, a single outdoor plant can grow 6-10 feet tall and 4-6 feet wide. Crowding plants together increases humidity between canopies and invites mold and pest issues.
Yes. Cannabis is photoperiod-sensitive, and light pollution during the dark hours can confuse the plant's flowering response. Even brief light interruptions — from a neighbor's security light, for example — can cause a plant to revert to vegetative growth or develop hermaphrodite traits. Choose a planting location that stays consistently dark at night.
Bud rot (Botrytis) appears as gray or brown patches inside dense buds, often accompanied by a musty smell. Affected areas feel spongy compared to healthy, firm buds. Check the largest, densest colas first — they hold the most moisture. If you find rot, remove the affected bud immediately and check surrounding buds. Improving airflow through selective defoliation reduces the risk significantly.
 |
 |
 |
 |

About Truman Perkins
Truman Perkins is a Detroit-based SEO consultant who's been in the business for over a decade. He got his start helping friends and clients get their websites off the ground, and he continues to do so today. In his free time, Truman enjoys learning and writing about gardening - something he believes is a natural stress reliever. He lives with his wife, Jenny, and their twins in Detroit.


Get new FREE Gifts. Or latest free growing e-books from our latest works.
Disable Ad block to reveal all the links. Once done, hit a button below
|
|
|
|
 rinjal