Learning how to fill an outdoor planter correctly starts with one simple principle: layer the materials from coarse at the bottom to fine at the top. That single concept prevents most of the drainage disasters and root rot issues our team sees in container gardens. Whether someone is working with a small ceramic pot or a massive raised vessel, the layering method remains the same — and it takes less than 30 minutes per planter. For anyone exploring plants, herbs, and farming in containers, getting the fill right is the foundation of every healthy planter.
Our team has filled hundreds of outdoor planters across different climates, and we've learned that the biggest variable isn't the soil brand — it's what goes underneath the soil. A properly filled planter drains well, stays lightweight enough to move, and gives roots the oxygen they need. Most people jump straight to potting mix and wonder why their plants struggle. The steps below walk through the entire process, from choosing the container to adding the final layer of mulch.
This guide covers both live plants and artificial arrangements, because both require thoughtful filling to look their best and last through the seasons. The approach changes slightly depending on planter size, material, and what's going in it — details we'll break down section by section.
Contents
Not every planter needs a full fill from bottom to top. Understanding when to invest time in proper layering — and when a simpler approach works — saves both effort and money.
A full layered fill is worth the effort in these situations:
Most people growing vegetables in containers should also consider how deep a raised garden bed needs to be — the same depth principles apply to planters. Root vegetables need at least 12 inches of quality growing medium, while herbs and lettuce can thrive in as little as 6 inches.
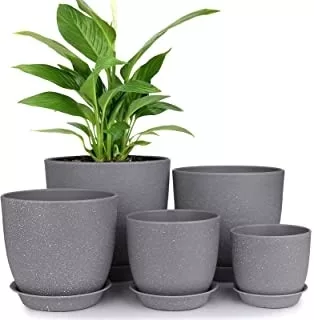
Skip the elaborate fill process for shallow planters under 8 inches deep — just use straight potting mix. The same goes for temporary seasonal displays that will be torn out in a few weeks. And if a planter already has healthy soil from last season, refreshing the top 2-3 inches with compost is often enough.
Pro tip: Before filling any planter, our team always checks for drainage holes first. No holes means either drilling some or adding an extra-thick drainage layer — skipping this step is the fastest path to root rot.
Filling outdoor planters doesn't have to be expensive, but costs add up when someone is working with multiple large containers. Here's what our team typically spends per planter.
| Material | Purpose | Cost per Planter (24") | Reusable? |
|---|---|---|---|
| Foam blocks or packing peanuts | Volume filler / weight reduction | $3–$8 | Yes |
| Landscape fabric | Separation barrier | $1–$3 | Yes |
| Potting mix (premium) | Growing medium | $8–$15 | Partial |
| Perlite or vermiculite | Drainage amendment | $3–$5 | Yes |
| Compost | Nutrient boost | $2–$5 | No |
| Mulch | Moisture retention | $1–$3 | No |
Total cost for a standard 24-inch planter runs between $18 and $39, depending on material quality. Larger planters scale up, but the filler layer absorbs most of the extra volume without adding proportional cost.
A few strategies our team uses to keep planter costs reasonable:
For anyone already managing fertilizer schedules, our guide on how much liquid fertilizer per plant pairs well with planter gardening, since containers need more frequent feeding than ground beds.
Several persistent myths about how to fill outdoor planter containers keep circulating online. Our team has tested most of these firsthand, and the results often contradict popular advice.
The most widespread myth in container gardening is that gravel at the bottom improves drainage. Research from the perched water table phenomenon shows the opposite is true. When water moves from fine-textured soil into coarse gravel, it actually pauses at the boundary and saturates the soil above before draining through. The result is a soggy zone right where roots sit.
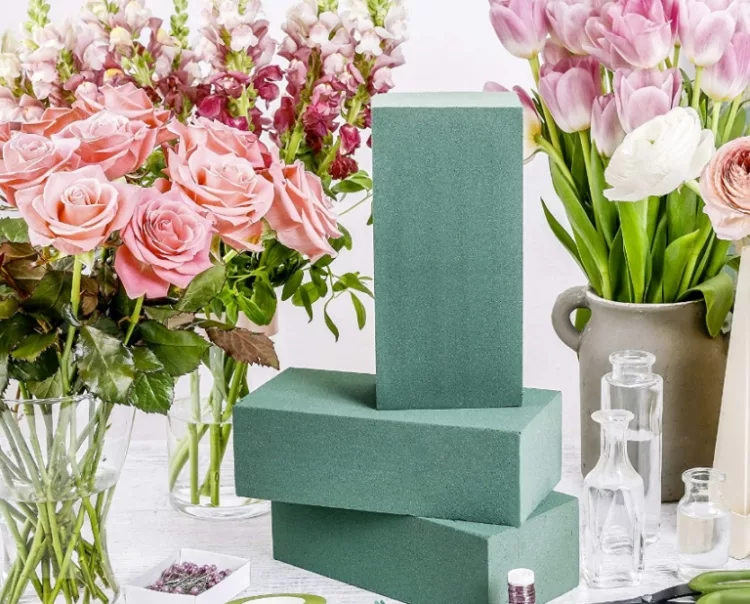
Foam blocks, empty plastic bottles, or even crushed aluminum cans work far better as fillers. They reduce weight without creating that problematic soil-to-gravel boundary. Anyone interested in creative container approaches might also enjoy making a plastic bottle garden — the same recycling mindset applies.
Garden soil from the yard seems like a logical, free choice. However, it compacts heavily in containers, drains poorly, and often carries weed seeds, fungal spores, and pest larvae. Potting mix is specifically engineered for container use — it's lighter, drains faster, and holds air pockets that roots need.
That said, mixing up to 25% garden soil into potting mix can add beneficial microbes and trace minerals. The key is never using garden soil alone.
Warning: Never reuse potting soil from planters where plants died from disease. Soil-borne pathogens like Fusarium and Pythium survive in spent soil and will infect new plantings immediately.
After years of filling planters for clients and our own gardens, these are the techniques that consistently produce the best results.
Here's the exact process our team follows for any planter over 12 inches deep:
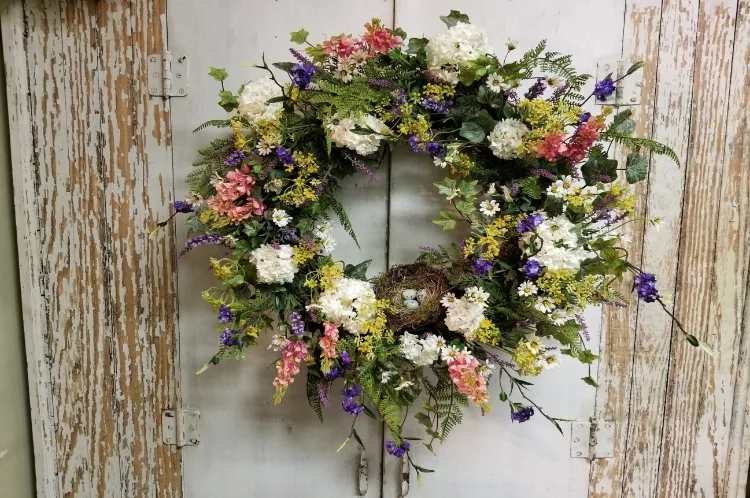
Watering habits matter just as much as the fill itself. Container plants dry out faster than ground plantings — our resource on how often to water a vegetable garden covers the fundamentals, and planters typically need watering even more frequently than raised beds.
Artificial flowers in outdoor planters have come a long way from the cheap plastic versions of decades past. For planters in deep shade, extreme heat, or locations where regular watering isn't practical, high-quality faux arrangements offer a viable alternative.
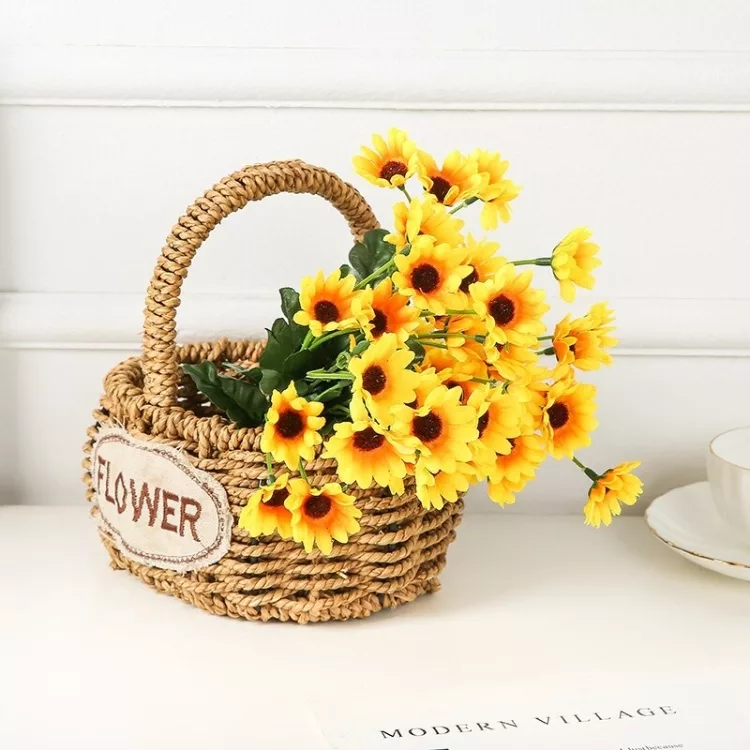
Benefits worth considering:

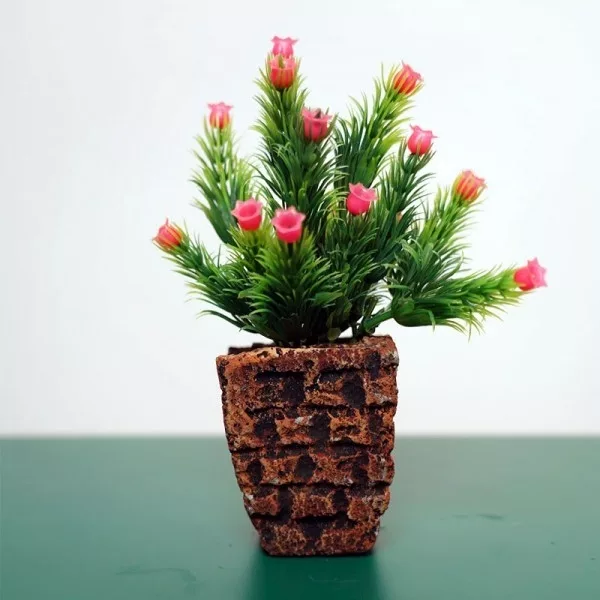
When filling a planter for artificial arrangements, the foam block method works perfectly. Simply fill the entire planter with floral foam or packing foam, then insert stems directly. No soil needed at all — which also means no mess, no bugs, and no drainage concerns.
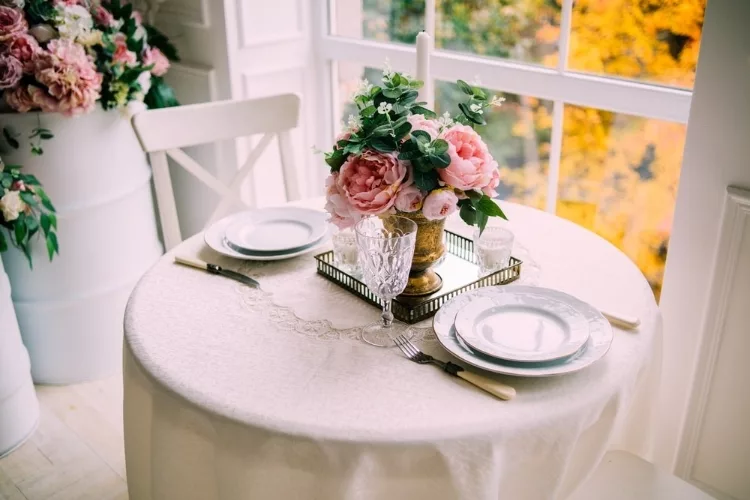
Quick tip: For the most realistic look with artificial planters, our team adds a thin layer of real bark mulch on top of the foam. It hides the mechanics completely and makes even close-up inspection convincing.
Even well-filled planters run into issues. Here are the problems our team encounters most often and the fixes that work.
If water pools on the surface and takes more than a few seconds to absorb, the potting mix has likely compacted. This happens naturally over one to two growing seasons. The fix is straightforward:
Keeping garden tools clean between planters also prevents spreading compacted soil or disease from one container to another — a step many people overlook.
Soil settling is normal. After the first few heavy waterings, potting mix in a new planter can drop 1-3 inches. This isn't a problem unless it exposes root crowns or leaves too much space between the soil line and the rim.
To address settling:
Planters that sit through winter in freeze-thaw climates may also crack if waterlogged soil expands as ice. Emptying or moving ceramic and terracotta planters before the first hard freeze prevents expensive breakage.
 |
 |
 |
 |

About Christina Lopez
Christina Lopez grew up in the scenic city of Mountain View, California. For eighteen ascetic years, she refrained from eating meat until she discovered the exquisite delicacy of chicken thighs. Christina is a city finalist competitive pingpong player, an ocean diver, and an ex-pat in England and Japan. Currently, she is a computer science doctoral student. Christina writes late at night; most of her daytime is spent enchanting her magical herb garden.


Get new FREE Gifts. Or latest free growing e-books from our latest works.
Disable Ad block to reveal all the links. Once done, hit a button below
|
|
|
|
 rinjal